Introduction:
Wafer cookies are a delightful treat known for their crispy texture and sweet, delicate flavor. Whether you’re a seasoned baker or a beginner, making wafer cookies at home can be both fun and rewarding. These easy-to-follow recipes will help you create delicious, homemade wafer cookies that are perfect for any occasion. From classic vanilla to indulgent chocolate-filled versions, you’ll find a variety of options to suit your taste and impress your friends and family. In this post, we’ll guide you through 10 easy wafer cookie recipes that you can easily make at home with simple ingredients and straightforward steps. Let’s dive in and discover the joy of baking wafer cookies from scratch!
What Are Wafer Cookies Made Of?
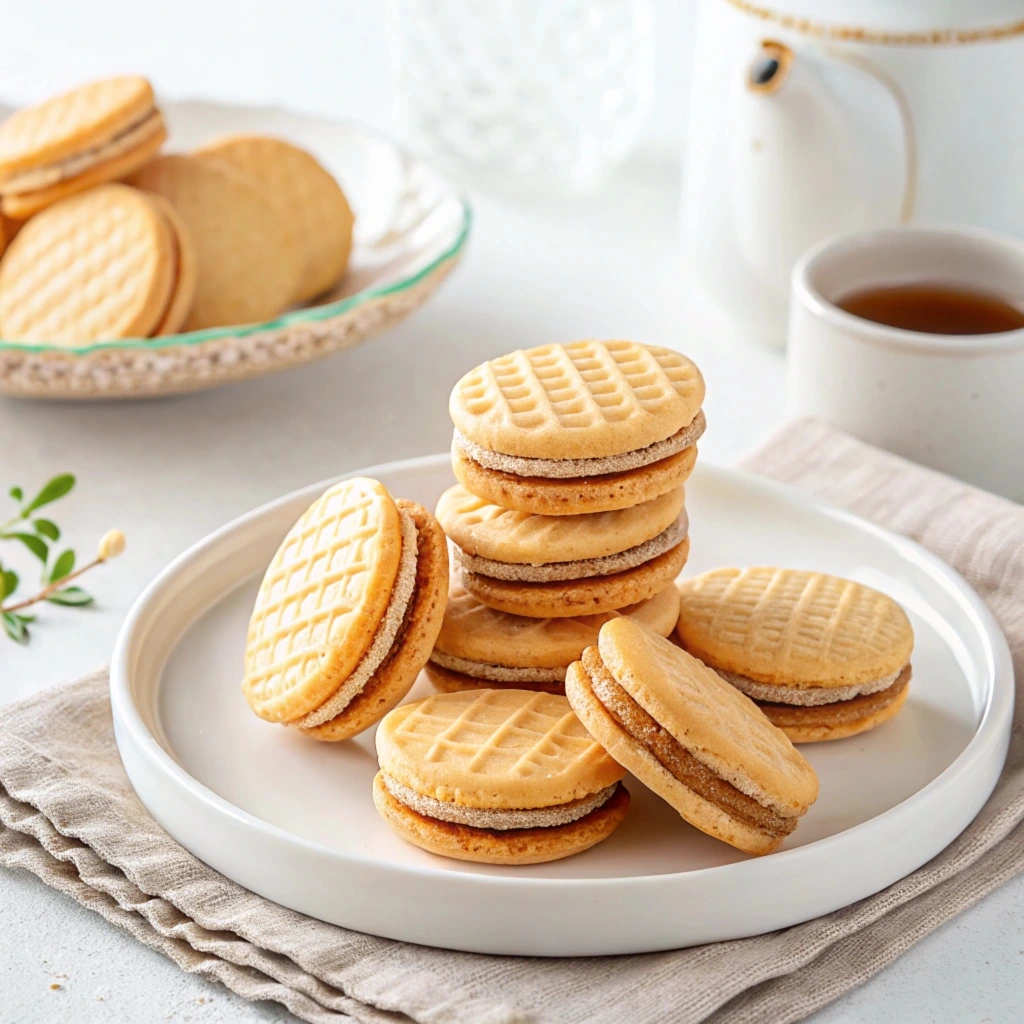
What Are Wafer Cookies Made Of?
To create their characteristic light and crispy texture. The primary ingredients typically include sugar, flour, butter, and wafer sheets.
- Sugar provides the sweetness that makes wafer cookies a delightful treat. Depending on the recipe, you might also encounter powdered sugar for a smoother texture in the dough. Check out our easy sugar-based cookie recipes here.
- Flour is the main structural component, giving the cookies their body while allowing them to remain crisp after baking. Different types of flour may be used, with all-purpose flour being the most common. Learn more about flour options for baking here.
- Butter adds richness and helps achieve the cookies’ tender, melt-in-your-mouth texture. The fat in butter also contributes to the crispiness when baked. Explore the best butter substitutes for baking here.
- Wafer sheets, which are thin, crisp layers, are often used in traditional wafer cookie recipes. They are typically made from a blend of flour, sugar, and other binding agents and layered between the dough to create that signature crunch. Find wafer sheet recipes here.
The combination of these essential ingredients is what makes wafer cookies uniquely delicate yet satisfying.
The History of Wafer Cookies
The origins of wafer cookies date back centuries, with early forms of these treats appearing in ancient Europe. The term “wafer” itself comes from the Old French word “wafer,” meaning a cake or wafer made from batter. Initially, wafers were baked in iron molds, and their thinness was due to the method of baking rather than the ingredients.
As baking technology advanced in the 18th century, wafer cookies began to evolve into the modern, crisp cookies we recognize today. They became a popular treat in European countries, with variations emerging across different regions. The introduction of chocolate and cream fillings in the 19th century led to the creation of layered wafer cookies, further increasing their appeal. Read more about the evolution of cookies here.
As wafers gained popularity, they also became associated with special occasions and celebrations, cementing their place in both European and American dessert traditions. Today, wafer cookies continue to be enjoyed worldwide in many forms, from simple, unfilled versions to those with chocolate, cream, or fruit fillings. Check out the best ways to use wafer cookies in desserts here.
Why Wafer Cookies Are a Popular Choice for Home Baking
Wafer cookies have gained popularity in home baking for several reasons, with their light texture, simplicity, and versatility being key factors. Here’s why they continue to be a beloved choice for home bakers:
- Light and Crisp Texture: Wafer cookies are known for their delicate, crisp texture. The layers of wafer sheets create a satisfying crunch, making them a unique option compared to traditional soft cookies. This texture is achieved without the need for complex techniques, making them perfect for novice bakers. See our guide to baking crispy cookies here.
- Versatility: Wafer cookies can be easily customized to suit different tastes and dietary preferences. You can make classic vanilla wafer cookies, experiment with chocolate fillings, or even create healthier versions using alternative sweeteners and flours. Their adaptability makes them ideal for any occasion, from casual snacks to elegant desserts. Explore versatile cookie recipes here.
- Quick and Easy to Make: Unlike some other cookie varieties that require intricate steps or long preparation times, wafer cookies are relatively simple to make. Most recipes require minimal ingredients and can be assembled quickly, making them an excellent choice for bakers who want a fast, delicious treat. Check out quick and easy cookie recipes here.
- Perfect for Customization: Wafer cookies can be dressed up with a variety of fillings, including cream, jam, or chocolate. This flexibility allows bakers to create personalized flavors and textures. Additionally, wafer cookies can be shaped into different forms, whether as individual cookies, stacked layers, or even sandwich cookies. Find creative wafer cookie ideas here.
All these qualities make wafer cookies a go-to choice for home bakers looking to create a delicious, easy-to-make treat with creative variations. A light and crispy texture that appeals to a wide range of tastes.ht and crispy texture that appeals to a wide range of tastes.
5 Types of Wafer Cookie Recipes You Can Try
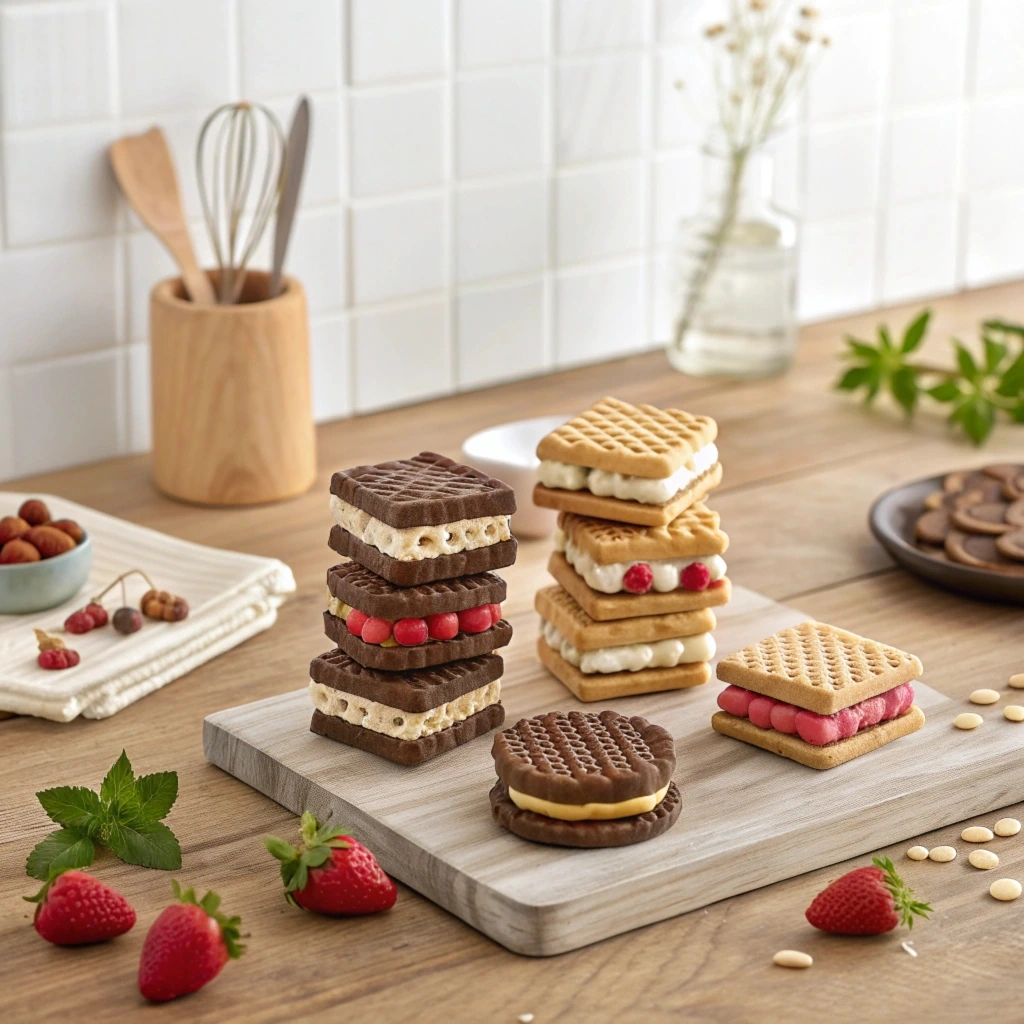
Vanilla Wafer Cookies
Classic vanilla wafer cookies are a staple in the world of baked goods. Their delicate, crisp texture and subtle sweetness make them a perfect choice for a variety of occasions. Here’s how you can make these cookies using simple ingredients:
- Ingredients: To create the signature flavor, you’ll need basic baking staples like flour, sugar, butter, and a splash of vanilla extract.
- Instructions: Cream the butter and sugar together, add the flour and a bit of vanilla extract, and mix until the dough forms. Roll it out thinly to ensure that the cookies bake crisp and light. Depending on your preference, cut the dough into round shapes or rectangles.
- Tips for success: Use room-temperature butter for a smoother dough, and chill the dough before baking for cleaner edges and a better texture.
Vanilla wafer cookies are versatile too—you can enjoy them on their own, or pair them with whipped cream or fresh fruit to elevate the dessert.
Chocolate Wafer Cookies
For a decadent twist on the classic wafer cookie, chocolate wafer cookies add rich cocoa flavor to the mix. These cookies are perfect for chocolate lovers and are just as easy to make as their vanilla counterparts.
- Ingredients: These cookies’ key ingredients include cocoa powder, flour, butter, and baking powder, which gives them a light, airy texture.
- Instructions: To prepare, mix the dry ingredients (cocoa powder, flour, sugar, and baking powder) before adding the butter and wet ingredients (vanilla extract and eggs). Roll out the dough as thinly as possible to achieve a crisp, wafer-like texture. Bake at a moderate temperature until crisp, allowing the chocolate flavor to develop fully.
- Tips for success: Sift the cocoa powder before adding it to the dry ingredients to avoid clumps, and chill the dough to make it easier to handle.
These chocolate wafer cookies can be enjoyed as-is or filled with chocolate ganache for an indulgent treat.
Sugar Wafer Cookies
Sugar wafer cookies are simple, sweet, and utterly delicious. Their lightness and sweetness make them a perfect snack or dessert. These cookies are particularly melt-in-your-mouth, offering a delicate texture and a satisfying crunch.
- Ingredients: Sugar, butter, and flour are the essential ingredients for sugar wafer cookies. Some recipes also call for cornstarch to enhance the crispness and lightness of the cookies.
- Instructions: Cream together the butter and sugar, then add the flour and cornstarch, mixing until a dough forms. Roll the dough as thin as possible and bake until the edges are lightly golden. These cookies are typically smaller in size and can be eaten whole or used in layered desserts.
- Tips for success: Roll the dough thinly for that signature crisp texture. Chill the dough to prevent it from spreading too much during baking.
Sugar wafer cookies can be stacked and used to create delightful cookie sandwiches or dipped in melted chocolate for added flavor.
Layered Wafer Cookies
For a more sophisticated and visually appealing treat, layered wafer cookies are a fantastic choice. These cookies combine multiple layers of the wafer with a creamy filling in between, offering both flavor and texture complexity.
- Ingredients: To make layered wafer cookies, you’ll need the same basic ingredients as regular wafer cookies, but with the addition of cream or chocolate filling (such as vanilla buttercream or chocolate ganache) for the layers.
- Instructions: After baking the wafer sheets, allow them to cool completely. Then, spread your desired filling between two wafer sheets to form a sandwich. Repeat this process to create several layers, stacking them to create a multi-layered cookie. Press the layers gently to adhere them together.
- Tips for success: Ensure that the filling is spread evenly between the layers and not too thick to avoid making the cookies too heavy. Chill the finished layered cookies for a few hours to set the filling and enhance the texture.
Layered wafer cookies are perfect for special occasions or as a decadent gift. For a unique twist, experiment with different fillings, like fruit jam or hazelnut spread. These elements allow you to create the perfect wafer cookie every time, whether in any recipe or by exploring new flavor combinations.fruit jam or hazelnut spread, for a unique twist.
Ingredients You Need for Perfect Wafer Cookies
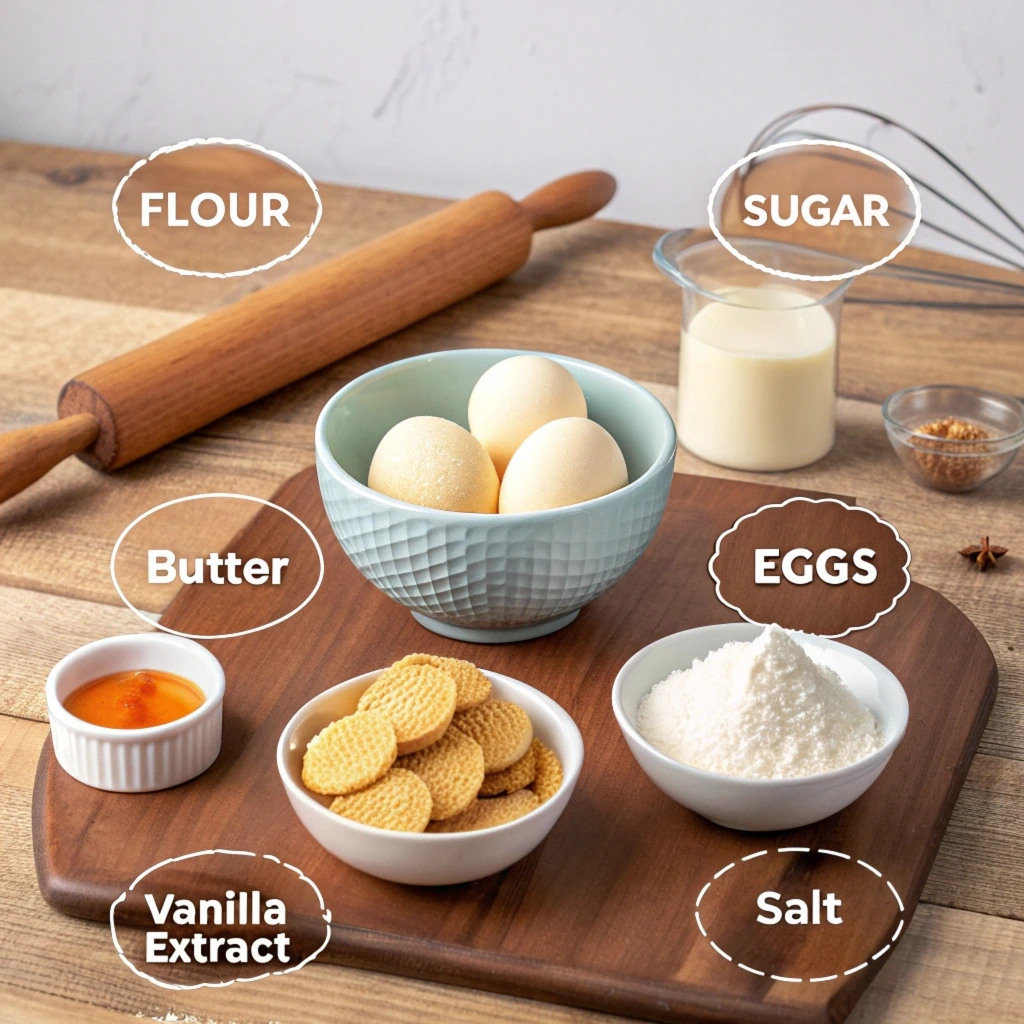
- Flour, Sugar, and Butter
- These three ingredients are fundamental to creating the perfect base for your wafer cookies, each playing a crucial role in the final texture and taste. Flour: The type of flour you use significantly affects the texture of your wafer cookies. Typically, all-purpose flour is ideal because it provides the right balance of structure and softness. The flour forms the backbone of the dough, helping it hold together while creating a delicate crispness when baked. It also absorbs moisture from the butter, contributing to the light and airy layers that define wafer cookies. Too much flour can make the cookies challenging, so the right proportion is essential.
- Sugar: Sugar not only sweetens the dough but also contributes to the texture and appearance of your wafer cookies. As the dough bakes, the sugar caramelizes, creating a golden brown color and adding a delicate crunch. Granulated sugar is commonly used, though some recipes may call for powdered sugar to achieve an even smoother texture. The sweetness of the sugar balances the slight bitterness of cocoa or other flavorings, creating a harmonious taste.
- Butter: Butter is the secret ingredient that brings richness and moisture to the dough. The fat content in butter ensures that the wafer cookies remain tender and melt in your mouth. It also helps with spreading, allowing the dough to form thin, crisp layers when baked. Additionally, butter enhances the flavor with its natural richness, complementing the sweetness of the sugar and the subtle flavors from any other added ingredients. Room-temperature butter is often recommended because it mixes more easily into the dough, ensuring smooth incorporation into the flour and sugar.
- Wafer Sheets and Cocoa Powder
- The unique texture and flavor of wafer cookies come from the combination of wafer sheets and cocoa powder. Wafer Sheets: These are the defining ingredients of wafer cookies. Wafer sheets are thin, crisp layers that are baked to a light, airy texture. They are typically made from a dough that is rolled out extremely thin before baking. The result is a cookie with an unmistakable crunch that contrasts beautifully with the fillings or coatings that might be added. Wafer sheets create that delightful “snap” when you bite into them, and they also contribute to the lightness of the final cookie.
- Cocoa Powder: While not always necessary, cocoa powder adds a layer of complexity and depth to wafer cookies. It introduces a chocolatey bitterness that balances out the sweetness of the sugar and enhances the flavor profile. Cocoa powder not only contributes to the taste but also affects the color of the wafer sheets, giving them a rich, dark hue. It’s important to use unsweetened cocoa powder to avoid overpowering the sweetness of the cookie, allowing for a more nuanced flavor. Cocoa powder is especially popular in chocolate wafer cookies or as a flavoring in the layers between the wafer sheets.
- Other Optional Ingredients
- Beyond the essential ingredients, there’s plenty of room for creativity with optional ingredients that can elevate your wafer cookies, both in flavor and texture. Vanilla Extract: Vanilla extract is a classic addition to many baked goods, and wafer cookies are no exception. A small amount (usually about 1-2 teaspoons) can transform the dough, providing a warm, fragrant note that enhances the sweetness of the sugar. Vanilla works exceptionally well in combination with cocoa powder or other flavorings, helping to create a more balanced and complex flavor profile.
- Chocolate Chips or Chunks: For chocolate lovers, adding chocolate chips or chopped chocolate chunks to the dough can be a game-changer. These additions create pockets of gooey, melted chocolate inside the crisp wafer layers, adding richness and extra flavor. Chocolate chips are usually added to the dough before baking, ensuring they melt into the cookie and become part of the texture. Larger chunks of chocolate can offer an even more indulgent experience, with bits of chocolate melting on the tongue as you bite into the wafer.
- Other Add-ins: There’s a wide variety of other ingredients you can add to customize your wafer cookies. Chopped nuts, such as hazelnuts, almonds, or pecans, can provide a delightful crunch that contrasts with the smooth texture of the wafer sheets. Caramelized sugar or toffee bits can add a rich, buttery sweetness that pairs beautifully with the crisp wafers. You could also experiment with more exotic flavors, like adding a teaspoon of cinnamon, a pinch of sea salt, or even some orange zest for a refreshing citrus twist. These add-ins allow you to tailor the flavor profile of your wafer cookies, turning them into a truly unique treat that suits your tastes or the occasion.
These ingredients, from the basic building blocks of flour, sugar, and butter to the more creative optional add-ins, combine to form wafer cookies that are not only crisp and light but also bursting with flavor. Whether you’re making a traditional recipe or exploring new flavor combinations, these elements allow you to create the perfect wafer cookie every time.
Tips for Making Wafer Cookies Crispy and Light
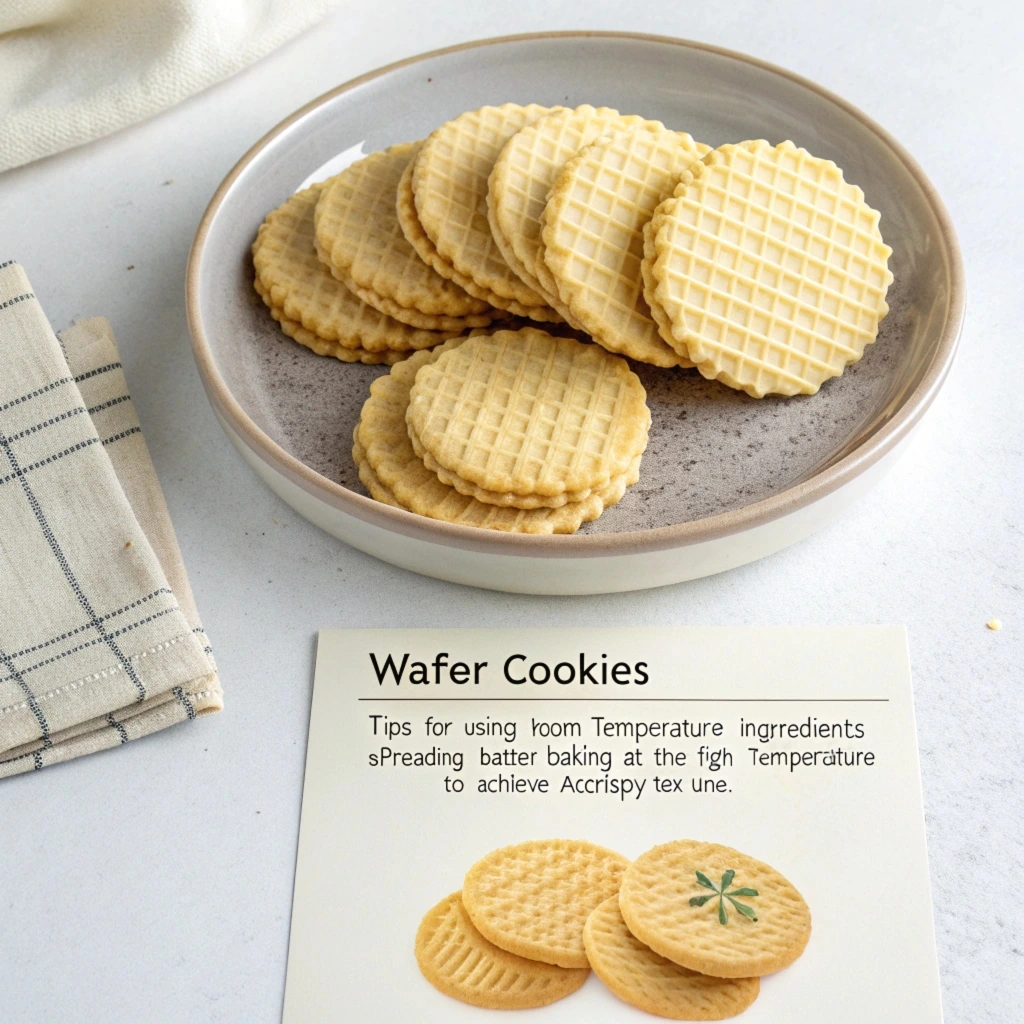
- The Importance of the Right Consistency
- Achieving the perfect dough consistency is crucial when making wafer cookies. If the dough is too thick, the cookies will turn out dense and heavy instead of light and crispy. The right consistency should be smooth, pliable, and easy to roll out thinly. To achieve this, make sure to measure your flour accurately and avoid overmixing the dough, which can introduce excess air or make it too challenging. The dough should be soft but firm enough to hold its shape as you roll it out into thin layers. If the dough is too sticky, lightly flour your rolling surface or refrigerate the dough for a brief period to make it easier to handle. Consistency affects the crispness and texture, so it’s essential to strike the right balance between firmness and tenderness.
- Tips for Getting the Dough Just Right
- Be mindful of how you handle it to ensure your wafer cookie dough is as light as possible. Chill the Dough: If your dough is too soft and complex to roll out, chilling it in the refrigerator for about 30 minutes can make a world of difference. This will firm up the butter and make it easier to roll out into thin sheets. Just remember not to overchill, as it can make the dough too hard to work with.
- Roll Thin and Even: The key to crispy wafer cookies is rolling the dough as thin as possible without making it tear. Use a rolling pin to evenly spread the dough, ensuring it’s uniformly thin. If you have a pasta machine, you can use it to roll the dough evenly for an ultra-thin result.
- Avoid Overworking the Dough: Overworking the dough can cause it to become rigid and lose its delicate texture. Handle the dough gently and only work it enough to combine the ingredients. This ensures the cookies will be light and flaky when baked.
- Baking Time and Temperature for Crispy Cookies
- Baking the wafer cookies at the right time and temperature is essential for achieving that perfect crispness. Here are some tips for optimal results:Temperature: Wafer cookies should be baked at a moderate temperature, usually between 350°F (175°C) and 375°F (190°C). A higher temperature might cause them to burn on the edges before they’re fully crisped through, while a lower temperature could result in cookies that are too soft and chewy. Always preheat your oven to ensure an even baking process.
- Time: The cookies typically bake in 8-12 minutes, depending on their thickness and the oven. Keep a close eye on them as they bake, especially towards the end. Wafer cookies should be golden brown with slightly darker edges. This indicates that they are done and crispy without being overbaked.
- How to Achieve the Perfect Crisp Texture Without Burning
- Getting the perfect crisp texture requires a delicate balance of baking time, temperature, and the dough’s thinness. Here are some tips to avoid burning: Keep an Eye on the Color: The color is an excellent indicator of doneness. As wafer cookies bake, they will gradually turn golden. Be vigilant and check them regularly towards the end of baking to ensure they don’t burn. The edges may start to darken first, but you want the whole cookie to be uniformly golden.
- Use Parchment Paper or Silicone Mats: Lining your baking sheet with parchment paper or a silicone baking mat helps ensure the cookies bake evenly and prevents them from sticking or burning. This also allows for easy removal from the tray once baked.
- Even Spacing: When placing the dough on the baking sheet, ensure each cookie is spaced evenly apart. This allows for consistent air circulation, ensuring they bake evenly without burning in any one area.
- Storing Wafer Cookies for Maximum Freshness
- It’s essential to store your wafer cookies correctly to maintain their freshness and crispness. Allow Cookies to Cool Completely: Before storing your wafer cookies, let them cool completely on a wire rack. If they are still warm when stored, condensation may form inside the container, which can cause the cookies to lose their crisp texture.
- Airtight Containers: Store your cooled wafer cookies in an airtight container. This will help keep them fresh while preventing them from absorbing moisture from the air, which can soften them over time. A tin or glass jar with a tight-fitting lid works well for long-term storage.
- Avoid Storing in the Fridge: Wafer cookies should not be stored in the refrigerator, as the moisture can cause them to lose their crispness. For the best results, keep them at room temperature in a dry, cool place.
- Best Practices for Keeping Them Crisp for Longer Periods
- To preserve the crispy texture of your wafer cookies over time, consider the following tips: Use a Desiccant Pack: If you live in a humid area, placing a desiccant pack (like those silica gel packets) inside the storage container can help absorb moisture and keep the cookies crisp for longer.
- Double-Layered Storage: For extra protection, wrap the wafer cookies in wax paper or parchment paper before placing them in the airtight container. This additional layer helps keep them from breaking and preserves their crisp texture.
- Freezing for Long-Term Storage: If you want to store your wafer cookies for an extended period, freezing them is a good option. Place the cookies in a freezer-safe airtight container or bag, with layers of parchment paper in between. When you’re ready to eat them, allow the cookies to thaw at room temperature to retain their crispness.
By following these tips, you’ll be able to make wafer cookies that are perfectly crispy, light, and delicious, while maintaining their texture and freshness for as long as possible
3 Easy Wafer Cookie Recipes to Try Today
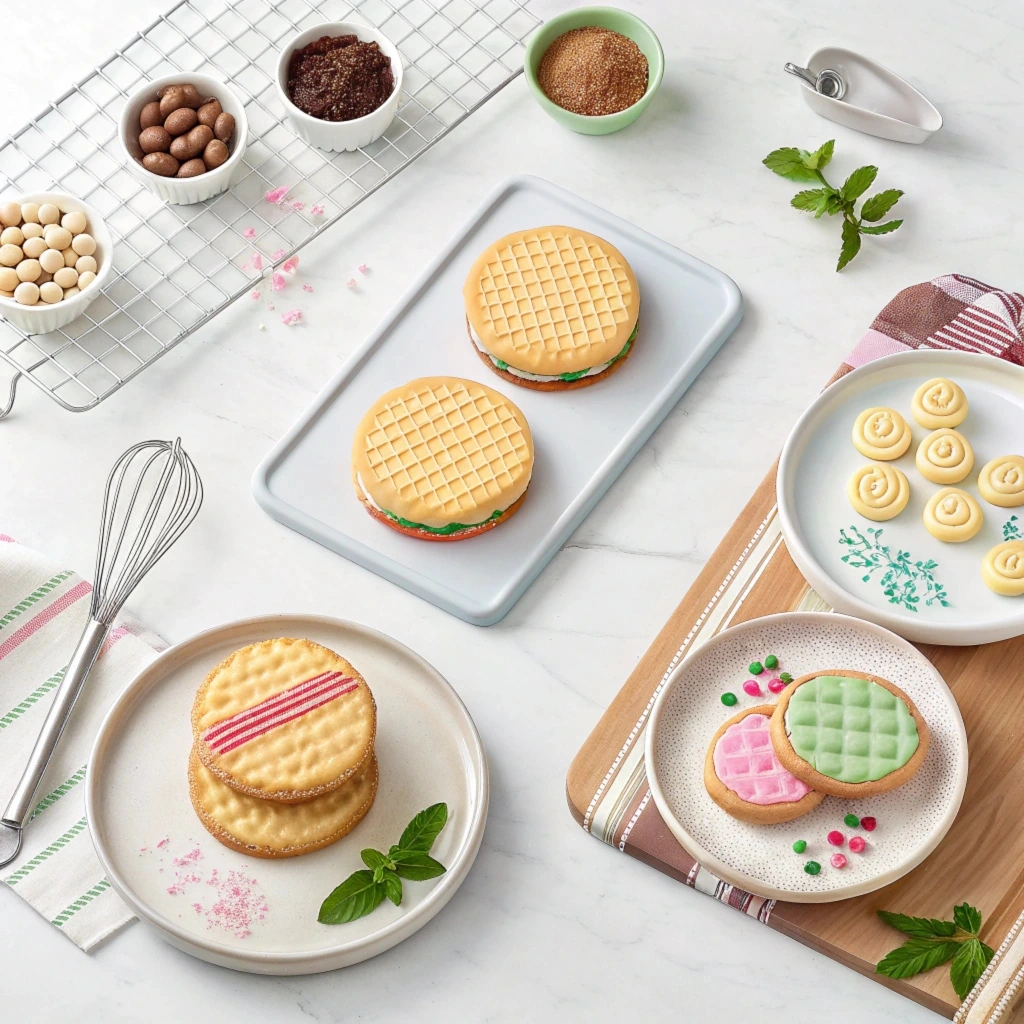
Simple Wafer Cookies with Chocolate Filling
If you’re craving a delicious yet simple treat, this wafer cookie with chocolate filling recipe is the perfect choice. This recipe combines the light, crisp texture of homemade wafer cookies with a smooth, creamy chocolate filling. It’s quick to make and requires only a few ingredients.
Ingredients: Wafer sheets (store-bought or homemade)
- 1 cup semi-sweet chocolate chips
- 1 tablespoon butter
- 1/2 teaspoon vanilla extract
Instructions:
- Melt the chocolate: In a microwave-safe bowl, melt the chocolate chips and butter together in 30-second intervals, stirring until smooth. Add vanilla extract and mix well. Learn tips for melting chocolate perfectly.
- To assemble the cookies, Spread a thin layer of the melted chocolate on one wafer sheet and top it with another wafer sheet. Gently press down to ensure they stick together.
- Chill: Place the assembled cookies in the fridge for about 15 minutes to allow the chocolate to set and firm up.
- Serve: Once chilled, cut into squares or rectangles and serve.
These wafer cookies with chocolate filling offer a decadent, indulgent treat with minimal effort. Discover more easy chocolate recipes here.
Vanilla Wafer Cookie Sandwich with Cream
This recipe elevates the traditional wafer cookie with a rich and creamy filling. The combination of crunchy wafer sheets and sweet, fluffy cream filling makes for a perfect sandwich cookie. Whether you’re preparing a batch for a special occasion or a family treat, these cookies are sure to please everyone.
Ingredients:
- Wafer sheets
- 1 cup heavy cream
- 2 tablespoons powdered sugar
- 1 teaspoon vanilla extract
- A pinch of salt
Instructions:
- Make the cream filling: In a mixing bowl, whip the heavy cream, powdered sugar, vanilla extract, and a pinch of salt until stiff peaks form. Get tips for whipping cream perfectly.
- To assemble the sandwiches, Spread a generous amount of the whipped cream onto one wafer sheet and top with another wafer sheet to create a sandwich.
- Chill and serve: Place the wafer cookie sandwiches in the fridge for 20-30 minutes to allow the cream to firm up slightly. This also enhances the flavor.
- Serve: Once chilled, slice into bite-sized portions and enjoy the delicious balance of crisp wafers and smooth, creamy filling.
This vanilla wafer cookie sandwich with cream is a simple yet indulgent dessert that’s perfect for a light afternoon treat or a sweet ending to a meal. Find more no-bake desserts here.
No-Bake Wafer Cookies for a Fast Treat
If you’re looking for a quick and no-bake wafer cookie recipe, this one’s for you. Perfect for busy days when you don’t have the time to bake, these no-bake wafer cookies are simple to prepare, requiring only a few ingredients that you probably already have in your pantry. With a chocolate or caramel base, they offer a fast and satisfying snack.
Ingredients:
- Wafer sheets
- 1/2 cup unsweetened cocoa powder
- 1 cup sweetened condensed milk
- 1/2 cup butter
- 1 teaspoon vanilla extract
- Pinch of salt
Instructions:
- Prepare the chocolate mixture: Melt the butter in a saucepan over medium heat. Stir in the sweetened condensed milk, cocoa powder, and a pinch of salt. Cook for about 5 minutes, stirring constantly, until the mixture thickens and becomes smooth. Remove from heat and stir in vanilla extract. Learn about the best methods for making chocolate fillings.
- Layer the cookies: On a flat surface, place a wafer sheet and spoon a generous layer of the chocolate mixture on top. Spread evenly. Top with another wafer sheet and press lightly.
- Chill: Repeat the layering process with the remaining wafer sheets and chocolate mixture. Place the stack in the fridge for at least 30 minutes to allow it to set and firm up.
- Serve: After chilling, slice into squares or bars.
The result is a decadent, chewy, yet crisp treat that’s perfect for those days when you need a quick dessert without turning on the oven. Find more no-bake recipes for busy days here.
Each of these three wafer cookie recipes is easy to make, delicious, and customizable to suit different tastes. Whether you’re in the mood for something chocolatey, creamy, or a no-bake quick fix, these recipes cover all your bases and make wafer cookies a go-to treat for any occasion.
Conclusion
Wafer cookies are a perfect balance of simplicity, texture, and taste, making them an ideal treat to bake at home. Whether you’re craving a classic vanilla wafer or an indulgent chocolate-filled version, the recipes we’ve shared are easy to follow and promise delicious results every time. From understanding the key ingredients to exploring the rich history behind these treats, we’ve covered everything you need to get started on your wafer cookie journey. The versatility of wafer cookies ensures that there’s a recipe for every taste, occasion, and skill level. So, gather your ingredients, try out one of these recipes, and treat yourself and your loved ones to the irresistible crunch of homemade wafer cookies. Don’t forget to experiment with different fillings and flavors to make these cookies your own!


1 thought on “10 Easy Wafer Cookie Recipes You Can Make at Home”