Introduction
Disney’s chocolate chip cookies are more than just a dessert—they’re a bite of magic that brings the enchanting world of Disney right into your home. Known for their soft, gooey texture and perfectly balanced sweetness, these cookies have become a favorite for fans of all ages.
In this blog post, we’ll share a simplified recipe using metric measurements, making it easier than ever for international bakers and precision enthusiasts to recreate this iconic treat. Whether you’re a seasoned baker or just starting, this guide will help you whip up cookies that taste just like the ones from Disney Parks.
Get ready to enjoy a delightful baking experience and bring a little Disney magic to your kitchen!
What Makes Disney’s Chocolate Chip Cookies Special?

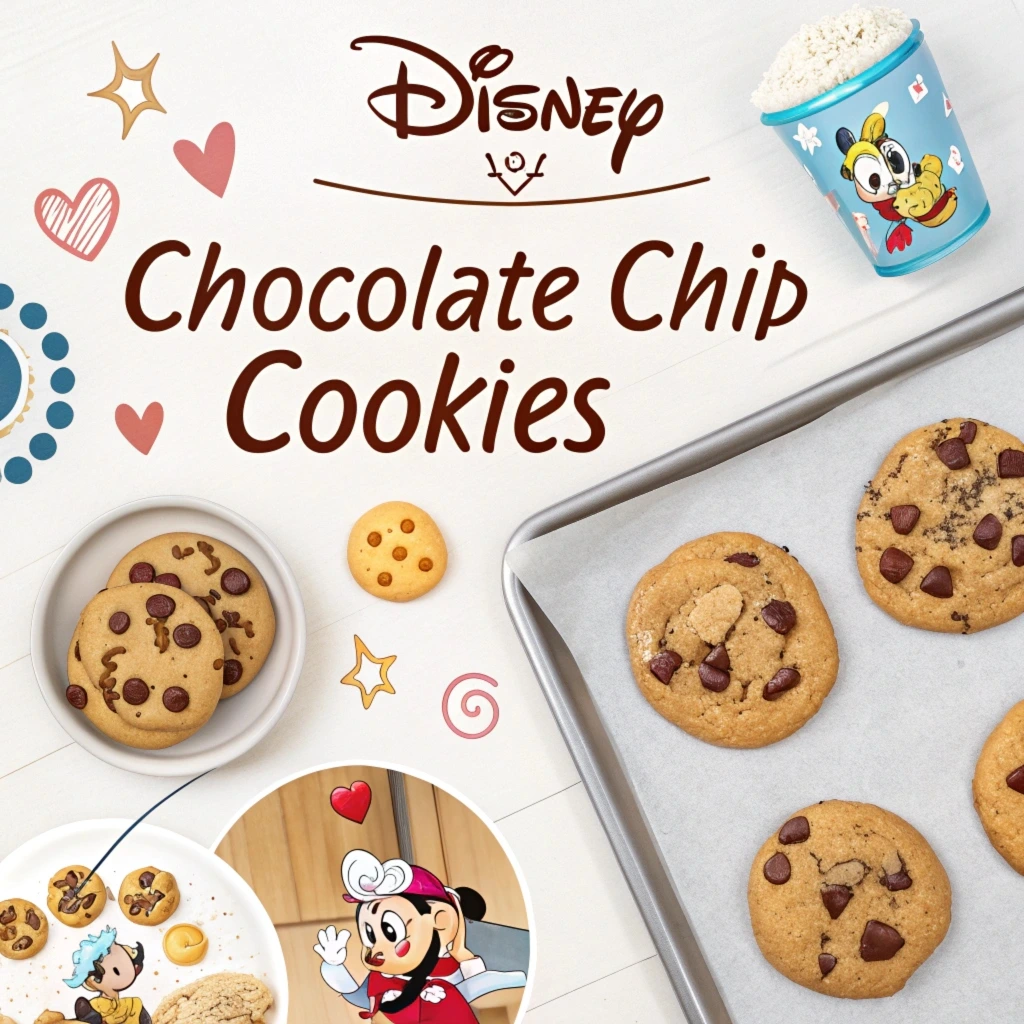
“Freshly baked Disney chocolate chip cookies made easy using a full metric recipe—perfect for bakers everywhere! Disney’s chocolate chip cookies hold a unique place in the hearts of fans, blending nostalgia, quality, and a touch of magic in every bite. Let’s dive deeper into what sets them apart and why they’ve become a global favorite.”
History Behind the Recipe
These cookies are inspired by the culinary excellence found in Disney Parks, where food plays a central role in creating unforgettable experiences. From the moment visitors step into a Disney park, they’re greeted with an array of delicious scents, and these cookies are no exception. Initially introduced as part of Disney’s bakery offerings, the chocolate chip cookies quickly gained iconic status, becoming a must-have treat for park-goers. Their popularity has transcended the parks, with fans recreating the recipe at home to relive a piece of the Disney magic.
Unique Characteristics
The Disney chocolate chip cookie isn’t your average cookie—it’s a masterclass in baking perfection. The hallmark of these cookies is their rich, gooey center, achieved by precise baking techniques and high-quality ingredients. The combination of golden-brown edges, slightly crispy on the outside, and a chewy, melt-in-your-mouth interior makes them truly irresistible. Each bite strikes the perfect balance between the sweetness of the chocolate and the buttery richness of the dough, ensuring a flavor profile that’s both classic and indulgent.
Why They’re Loved Worldwide
The appeal of Disney’s chocolate chip cookies goes beyond their taste. They evoke joy and nostalgia, reminding fans of magical moments spent with loved ones at Disney Parks. Their universal appeal also lies in their simplicity—they’re a treat that resonates with kids, families, and cookie enthusiasts alike. Whether you’re introducing them to a new generation or enjoying them as a lifelong fan, these cookies have a way of bringing people together.
Ideal for Special Occasions or Everyday Treats
One of the greatest strengths of Disney’s chocolate chip cookies is their versatility. They’re perfect for any occasion, whether it’s a cozy family night, a birthday celebration, or a holiday gathering. They’re also ideal for an everyday indulgence, offering a little slice of Disney magic whenever you need a pick-me-up. Their adaptability allows bakers to add personal touches, like festive sprinkles or a drizzle of caramel, making them even more special for any event.
In short, these cookies are more than just a dessert—they’re a symbol of joy, comfort, and a little extra magic, making them a timeless favorite worldwide.
What Makes Disney’s Chocolate Chip Cookies Special?
Disney’s chocolate chip cookies hold a special place in the hearts of fans worldwide. Learn more about Disney’s iconic treats and other culinary delights on the official Disney Parks Blog.
Essential Ingredients for the Perfect Disney Cookies
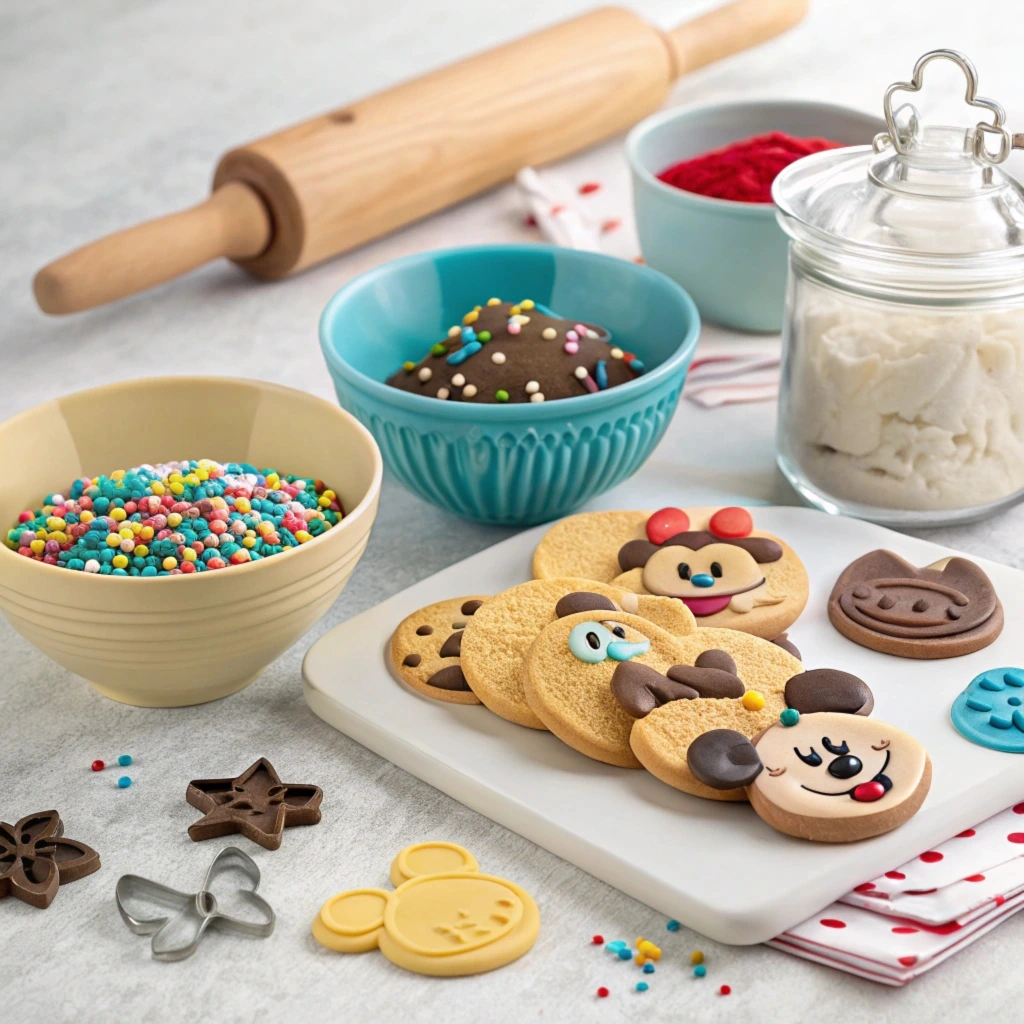
Discover the essential ingredients for crafting Disney’s famous chocolate chip cookies, with precise metric measurements for perfect results.
The magic of Disney chocolate chip cookies lies in their carefully selected ingredients and the precise balance between them. Each component plays a specific role in creating the cookies’ signature flavor and texture, making it essential to choose the best ingredients and measure them accurately.
Classic Components
- Flour:
Flour forms the foundation of the cookie dough, providing structure and texture. All-purpose flour is typically used for Disney chocolate chip cookies, offering the right balance of strength and tenderness. Sifting the flour helps prevent lumps and ensures even mixing. - Butter:
High-quality butter is crucial for achieving the rich, buttery flavor these cookies are known for. Softened butter creates a creamy base for the dough, while its fat content adds moisture and contributes to the cookies’ chewy texture. - Sugar:
A combination of granulated sugar and brown sugar is often used. Granulated sugar adds sweetness and a slight crispness, while brown sugar (with its molasses content) provides a deeper flavor and soft, moist texture. - Chocolate Chips:
The star of the show, chocolate chips, should be semi-sweet or dark for the perfect balance of sweetness. Opt for premium-quality chocolate to replicate the indulgent taste of Disney cookies. Chopping a chocolate bar into chunks can add variety to the texture, with some pieces melting into gooey pools.
Metric Measurement Guide
Precision is vital for replicating the magic of Disney’s cookies. Using metric measurements ensures consistency and accuracy, especially for bakers outside the US. Here’s a guide to the key ingredients:
- Flour: 250 grams (approximately 2 cups)
- Butter: 115 grams (1 stick)
- Granulated Sugar: 100 grams (½ cup)
- Brown Sugar: 120 grams (½ cup packed)
- Chocolate Chips: 150–200 grams (1–1½ cups)
A kitchen scale is an indispensable tool for measuring these quantities. Accurate measurements prevent issues like dry dough (too much flour) or overly spread cookies (excess butter).
Tips for Ingredient Substitutions
If you have dietary restrictions or preferences, consider these substitutions to make the recipe more inclusive:
- Gluten-Free: Replace all-purpose flour with a gluten-free baking blend that includes xanthan gum for structure.
- Vegan-Friendly: Swap butter for a plant-based alternative like vegan margarine or coconut oil, and use a flax egg (1 tablespoon ground flaxseed + 2.5 tablespoons water) instead of a regular egg.
- Reduced Sugar: Use a natural sweetener like coconut sugar or a sugar substitute suitable for baking.
- Dairy-Free: Opt for dairy-free chocolate chips and use non-dairy butter alternatives.
Where to Find Authentic Ingredients
Sourcing quality ingredients can make all the difference in recreating Disney’s famous cookies:
- Specialty Stores: Visit gourmet food stores or online retailers for premium chocolate brands like Guittard or Valrhona.
- Local Grocers: High-quality butter and sugar are often available at local supermarkets—look for European-style butter for a richer flavor.
- Online Markets: Platforms like Amazon and specialty baking websites offer pre-measured, high-grade ingredients shipped to your doorstep.
- Disney Merchandising: Occasionally, Disney Parks and online stores sell kits or pre-packaged mixes inspired by their classic cookies, allowing you to replicate their flavor more authentically.
With the right ingredients and a focus on quality, your cookies will not only capture the iconic Disney flavor but also bring the joy and nostalgia of Disney Parks into your kitchen.
Step-by-Step Guide to Baking Disney Chocolate Chip Cookies
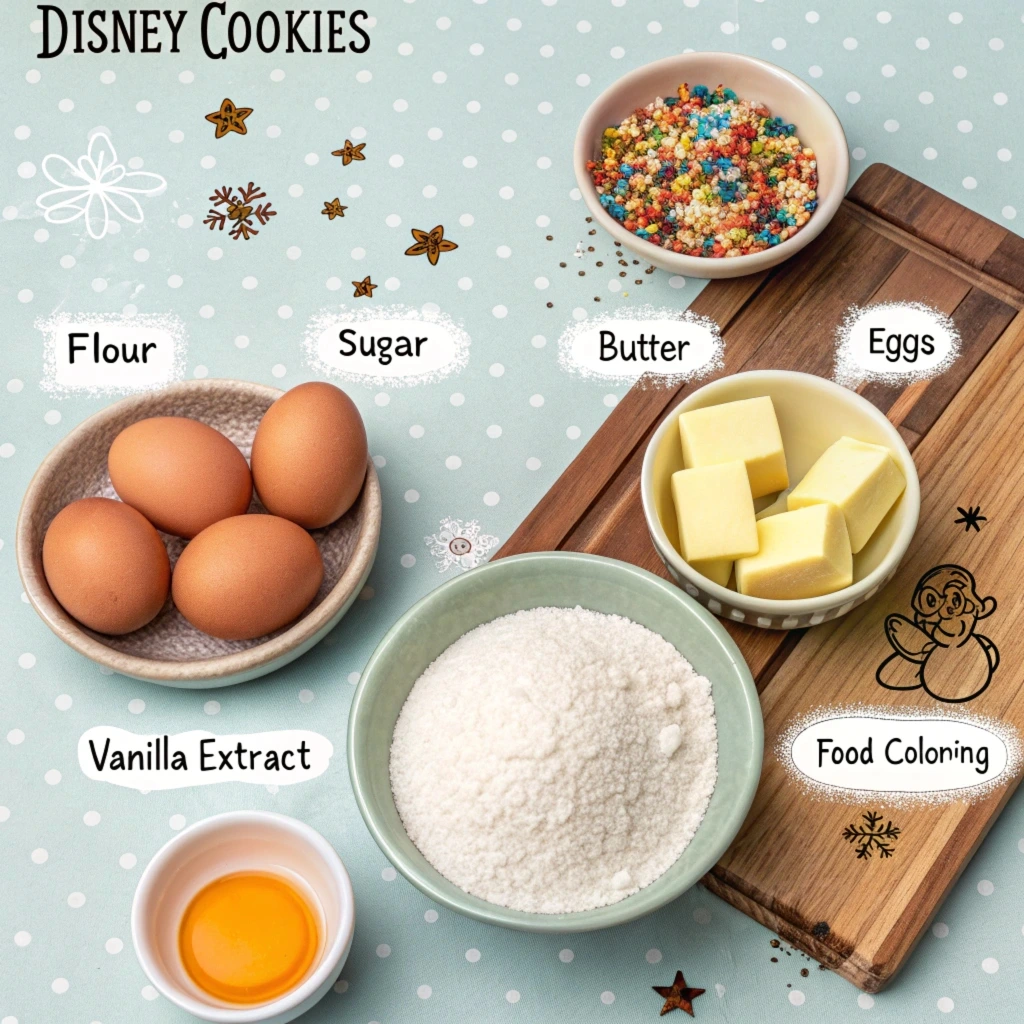
Baking Disney chocolate chip cookies at home is a rewarding experience that combines precision, creativity, and a touch of magic. Follow this detailed guide to ensure your cookies turn out just as delicious and enchanting as those served at Disney Parks.
Preparation
- Preheating the Oven:
Set your oven to 180°C (356°F) and allow it to fully preheat. A consistent oven temperature is crucial for even baking and achieving the perfect golden-brown exterior. - Lining the Baking Trays:
Use parchment paper or silicone baking mats to line your trays. This prevents sticking and ensures even heat distribution. Silicone mats are especially effective for creating cookies with smooth bottoms. - Gathering Tools:
Ensure you have all necessary tools on hand:- Mixing bowls (large and medium)
- A stand or hand mixer
- Measuring cups, spoons, or a kitchen scale for precision
- A cookie scoop or tablespoon for shaping dough evenly
- Cooling racks for post-baking
By preparing everything in advance, you can work efficiently and avoid interruptions.
Mixing the Dough
- Creaming Butter and Sugars:
In a large bowl, beat the softened butter with both granulated sugar and brown sugar until the mixture becomes light and fluffy. This step aerates the dough, contributing to the cookies’ soft texture. - Adding Wet Ingredients:
Mix in the egg and vanilla extract, ensuring they are fully incorporated. The egg binds the ingredients, while the vanilla adds a subtle sweetness. - Incorporating Dry Ingredients:
In a separate bowl, combine the flour, baking soda, and salt. Gradually add the dry mixture to the wet ingredients, mixing until just combined to avoid overworking the dough. Overmixing can lead to dense cookies. - Adding Chocolate Chips:
Gently fold in the chocolate chips, ensuring even distribution throughout the dough. For extra indulgence, reserve a handful of chips to press on top of the cookies before baking.
Shaping and Baking
- Shaping the Dough:
Use a cookie scoop or tablespoon to portion out the dough into uniform balls. Roll them lightly in your hands for a smooth shape, and place them on the prepared baking trays, leaving about 2 inches of space between each ball to allow for spreading. - Baking:
Place the trays in the preheated oven and bake for 10–12 minutes, or until the edges are golden but the centers remain slightly soft. Keep an eye on the cookies to prevent overbaking, as they will continue to set while cooling. - Optional Touch:
For that signature Disney look, press a few extra chocolate chips onto the tops of the cookies immediately after removing them from the oven.
Cooling and Storing
- Cooling the Cookies:
Allow the cookies to cool on the baking tray for 5 minutes to firm up before transferring them to a cooling rack. This step prevents them from breaking apart while still warm. - Storing Freshly Baked Cookies:
Once completely cooled, store the cookies in an airtight container at room temperature for up to a week. Place a slice of bread inside the container to maintain softness. - Freezing Tips:
For longer storage, freeze baked cookies in a sealed freezer bag or container for up to three months. Alternatively, freeze unbaked dough balls to bake fresh cookies on demand.
By following these steps, you’ll create cookies that are not only delicious but also reminiscent of the magical Disney experience. Whether you’re baking for family, friends, or yourself, this recipe guarantees smiles with every bite!
Baking Tips for Beginners Using the Metric System
Baking is both an art and a science, where precise measurements and attention to detail can make or break your results. For beginners, transitioning to the metric system might seem daunting at first, but it’s a game-changer for achieving consistency and accuracy in your baked goods. Here’s a detailed guide to help you navigate baking Disney chocolate chip cookies using the metric system with ease.
Why Use Metric Measurements
Master baking with the metric system using tools like a digital scale, measuring spoons, and accurate ingredient preparation for perfect results.
- Accuracy and Consistency:
The metric system relies on grams and milliliters, which are far more precise than cups and teaspoons. This precision is especially important in baking, where slight variations in ingredient quantities can significantly affect the outcome. For example, “1 cup of flour” can vary by weight depending on how it’s scooped, but “250 grams of flour” is exact every time. - Ease of Scaling Recipes:
Metric measurements simplify scaling recipes up or down. Need to make a half batch or double the quantity? It’s easier to calculate 125 grams of flour (half of 250 grams) than halving a cup. - Global Standard:
Most of the world uses the metric system, making it easier to follow recipes from international sources without converting measurements.
Common Metric Conversions
Understanding basic conversions helps bridge the gap between traditional measurements and the metric system:
- Flour: 1 cup ≈ 125 grams
- Butter: 1 stick (½ cup) ≈ 115 grams
- Sugar: 1 cup ≈ 200 grams (granulated) or 220 grams (brown, packed)
- Milk/Water: 1 cup ≈ 240 milliliters
- Teaspoons: 1 teaspoon ≈ 5 milliliters
- Ounces (liquid): 1 ounce ≈ 30 milliliters
Having a quick reference chart or converting recipes in advance can save time and reduce errors.
Tools You’ll Need
- Digital Kitchen Scale:
A must-have for precise measurements, allowing you to weigh ingredients directly in grams or milliliters. Choose a scale with a tare function to reset the weight after adding each ingredient. - Measuring Spoons:
Look for metric measuring spoons for small quantities like baking soda, salt, or vanilla extract. - Measuring Jugs:
Use a jug with milliliter markings for liquids. Clear glass or plastic jugs make it easy to see the exact measurement. - Mixing Tools:
A stand or hand mixer ensures even mixing, especially for beginners who may struggle with manual techniques.
By investing in the right tools, you’ll set yourself up for consistent success in the kitchen.
Troubleshooting Common Baking Issues
Baking mishaps can happen to anyone, especially beginners. Here are some common problems and how to fix them:
- Flat Cookies:
- Cause: Butter was too warm, or the dough wasn’t chilled.
- Solution: Use cold butter to start and refrigerate the dough for at least 30 minutes before baking.
- Uneven Texture:
- Cause: Improper mixing or inaccurate measurements.
- Solution: Use a digital scale for precise ingredient quantities and mix until just combined to avoid overworking the dough.
- Over-Baking:
- Cause: Baking too long or at the wrong temperature.
- Solution: Use an oven thermometer to verify the temperature, and remove cookies when the edges are golden, even if the center looks slightly underbaked. They’ll set as they cool.
- Sticky Dough:
- Cause: Excess liquid or humidity in the environment.
- Solution: Add a tablespoon of flour at a time until the dough reaches the right consistency.
By embracing the metric system, using the proper tools, and troubleshooting as needed, beginners can elevate their baking game and recreate Disney chocolate chip cookies with professional-level precision and confidence.
Frequently Asked Questions About Disney Cookies
Get answers to common questions about baking Disney’s chocolate chip cookies, from freezing dough to recipe variations and high-altitude tips.
Disney’s chocolate chip cookies are a favorite among home bakers, but even seasoned bakers have questions about making, customizing, and storing these iconic treats. Here are answers to some of the most common queries to help you perfect your baking experience.
Can I Freeze the Dough?
Absolutely! Freezing cookie dough is a great way to prepare for future cravings or save time during busy weeks. Here’s how:
- Portion the Dough:
Shape the dough into individual balls using a cookie scoop or tablespoon. - Flash Freeze:
Place the dough balls on a parchment-lined tray and freeze for 1–2 hours until firm. This prevents them from sticking together. - Store Properly:
Transfer the frozen dough balls into an airtight freezer bag or container. Label it with the date for reference. - Bake Directly from Frozen:
There’s no need to thaw! Simply add 1–2 minutes to the baking time and bake as usual.
Freezing ensures you always have fresh cookies ready to bake on demand without compromising quality.
How Do I Adjust for High Altitude?
Baking at high altitudes (above 3,000 feet) can be tricky due to differences in air pressure and humidity. Adjust the Disney cookie recipe with these modifications:
- Reduce Sugar:
Decrease the sugar by 1–2 tablespoons to prevent excessive spreading. - Increase Flour:
Add an extra 1–2 tablespoons of flour to help the cookies hold their shape. - Adjust Baking Soda:
Reduce the amount slightly (by about ¼ teaspoon) to prevent over-rising. - Shorten Baking Time:
Keep an eye on the cookies and check for doneness a minute or two earlier than the recipe suggests.
With these tweaks, you can enjoy perfect cookies even in high-altitude locations.
What Makes Disney Cookies Different from Regular Chocolate Chip Cookies?
Disney’s cookies are beloved for their unique characteristics that elevate them beyond standard recipes:
- Rich Flavor:
A combination of brown and granulated sugar creates a deep, caramel-like sweetness. - Buttery Texture:
The high butter content ensures a soft, gooey interior while maintaining a slightly crisp edge. - Generous Chocolate Chips:
Disney cookies are packed with premium chocolate chips, making each bite indulgent. - Signature Technique:
Refrigerating the dough before baking enhances the flavor and texture by allowing the ingredients to meld together.
These small yet impactful details make Disney cookies unforgettable.
Can I Use This Recipe for Other Variations?
Yes, this versatile recipe is a fantastic base for experimenting with different flavors and mix-ins. Here are a few ideas:
- Add Nuts:
Incorporate chopped walnuts, pecans, or almonds for extra crunch and flavor. - Try Different Chocolates:
Swap out semi-sweet chocolate chips for dark chocolate chunks, white chocolate chips, or even caramel chips. - Infuse Flavor Extracts:
Enhance the dough with almond extract, orange zest, or even a hint of coffee for unique flavor twists. - Create Holiday Variations:
Add colorful sprinkles, crushed peppermint candies, or festive spices like cinnamon and nutmeg for seasonal cookies.
With these variations, you can customize the recipe to suit your tastes and occasions while maintaining its iconic Disney charm.
By addressing these frequently asked questions, you’ll be better prepared to bake Disney chocolate chip cookies that suit your needs and preferences while keeping the magic alive in every bite!
Conclusion
Baking Disney chocolate chip cookies at home is more than just making a sweet treat—it’s about recreating a piece of magic in your own kitchen. By following this detailed guide, from understanding the unique charm of Disney’s cookies to mastering the recipe with metric precision, you’ll be able to enjoy these iconic delights whenever the craving strikes.
Whether you’re a seasoned baker or just starting, the tips and techniques shared here will help you achieve perfect results every time. Experiment with variations, customize the recipe to suit your taste, and don’t forget to share these irresistible
