Introduction
Making a heart-shaped cake is a thoughtful way to celebrate special moments, from Valentine’s Day to anniversaries or birthdays. But what if you don’t have a heart-shaped pan? Don’t worry—you don’t need to buy any special equipment to create a stunning cake that will wow your loved ones. With just a few simple steps and items you likely already have in your kitchen, you can craft a perfectly shaped heart cake that’s as beautiful as it is delicious.
In this guide, we’ll walk you through a step-by-step process to transform a standard round and square pan into the perfect base for your heart-shaped masterpiece. Whether you’re an experienced baker or just starting out, you’ll find this method easy and fun to follow. Let’s get started!
Why Make a Heart-Shaped Cake Without a Special Pan?
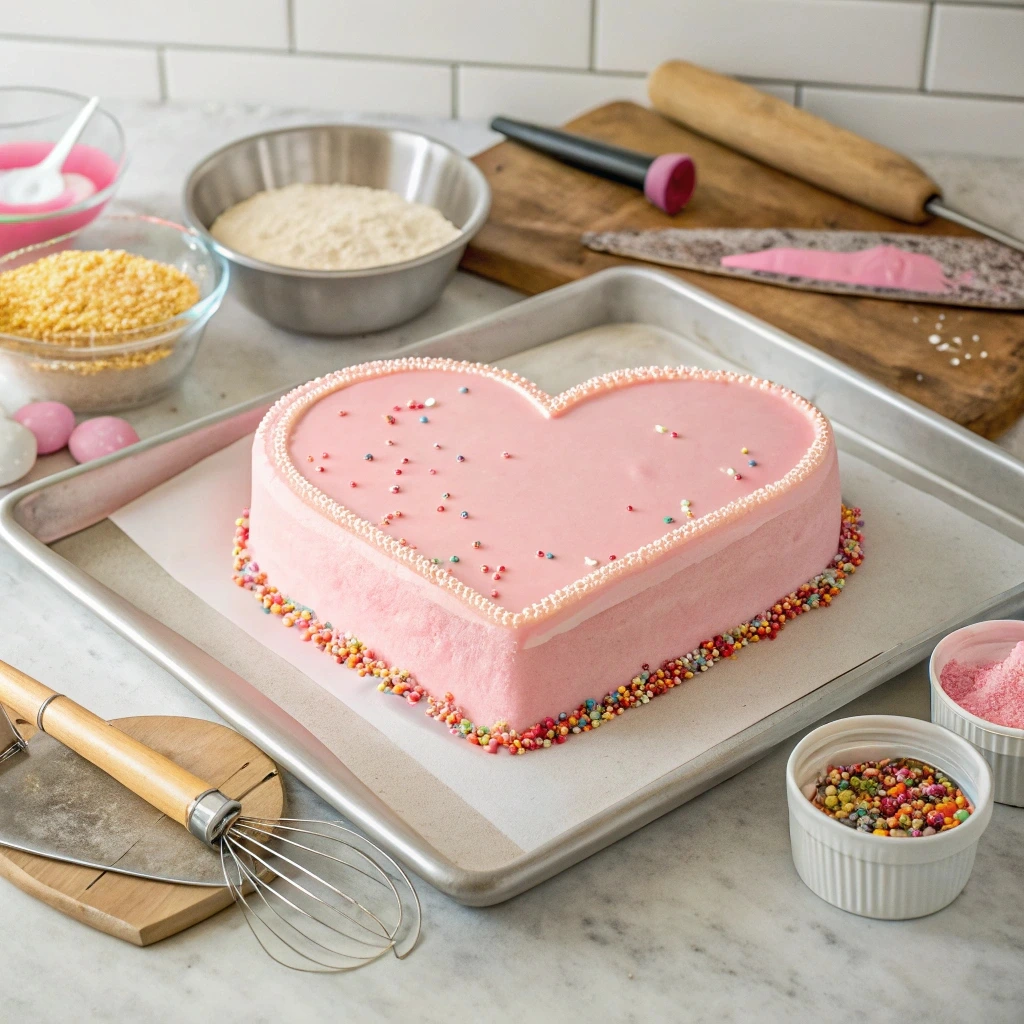
Creating a heart-shaped cake without a dedicated pan isn’t just a clever baking hack—it’s an opportunity to be creative, resourceful, and thoughtful. Let’s explore why this approach might be the perfect choice for your next celebration.
Perfect for Special Occasions
There’s something undeniably charming about a heart-shaped cake. It’s an iconic symbol of love and affection, making it ideal for Valentine’s Day, anniversaries, or romantic celebrations. By crafting this cake yourself, you’re not just making a dessert—you’re adding a personal touch that makes the occasion even more special. Whether it’s for your significant other or a loved one, a homemade heart-shaped cake speaks volumes about your care and effort.
Save Money and Resources
Why invest in a heart-shaped pan you’ll likely use only once or twice? By repurposing standard pans, like round and square ones, you can achieve the same result without spending extra money or cluttering your kitchen with single-use items. Plus, it’s an eco-friendly choice, as it encourages you to make the most of the tools you already have. It’s a win-win for your wallet and the environment!
A Fun DIY Baking Challenge
Transforming a regular cake into a heart shape is not just about the result—it’s about the joy of the process. It’s a chance to get hands-on and let your creativity shine. Whether you’re baking solo or involving family and kids, shaping the cake can be a fun and memorable activity. Kids, in particular, will love being part of the process, from cutting the cake to decorating it with frosting and sprinkles.
So, why give it a try? Making a heart-shaped cake without a special pan isn’t just practical—it’s also a delightful way to celebrate love, save resources, and enjoy the art of baking.
Tools and Ingredients You’ll Need
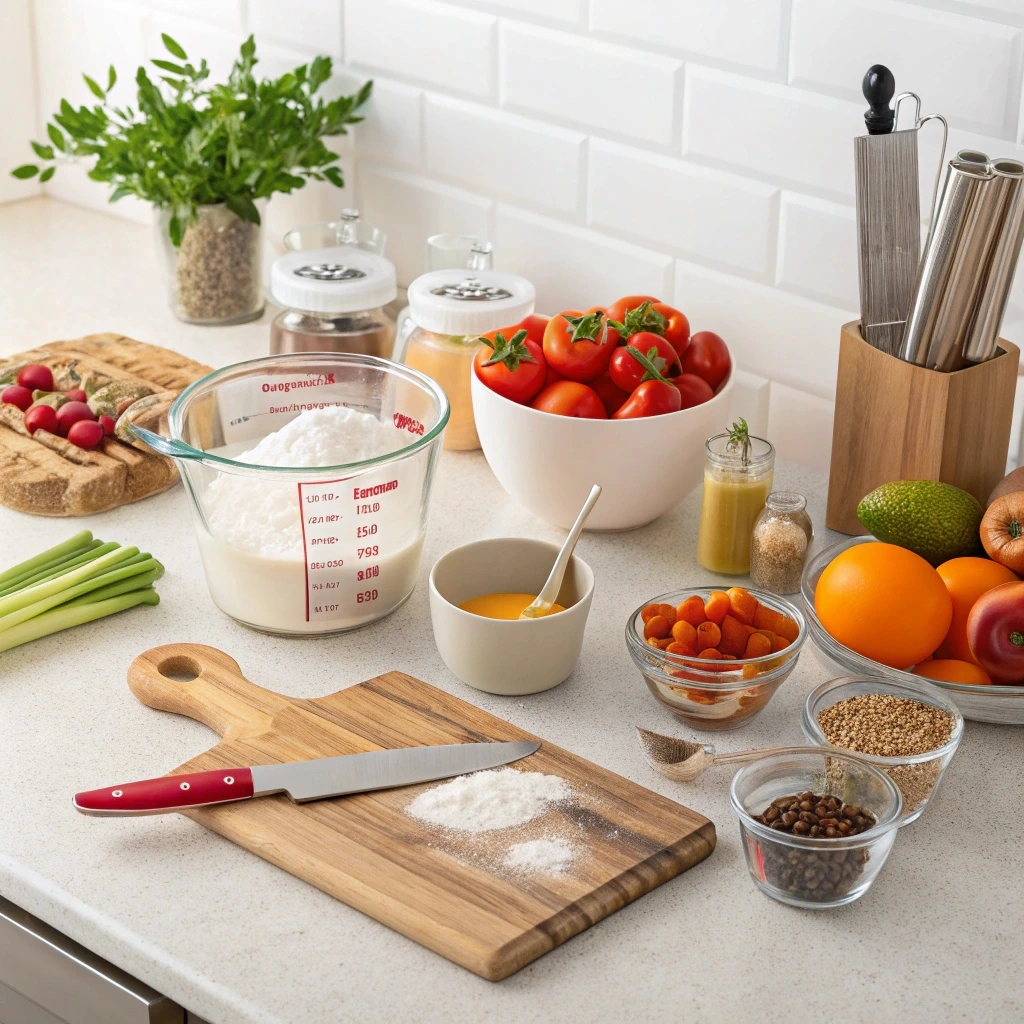
Before diving into the fun of shaping your heart-shaped cake, it’s essential to gather all the right tools and ingredients. You’ll find that you don’t need anything overly fancy to create this delightful treat. Here’s what you’ll need to get started:
Essential Baking Tools
To shape your heart-shaped cake without a special pan, you’ll need to rely on some essential baking tools that you already have in your kitchen.
- Square and round cake pans: These will be the base for your heart shape. You can use a round cake pan for the top of the heart and a square pan for the bottom, then cut and arrange them to form a heart shape.
- Knives or cutters for shaping edges: A sharp knife will be your best friend for cutting the cakes into the right shape. If you’re feeling fancy, you can also use cookie cutters to make cleaner cuts. Precision is key, but don’t worry—it’s easy to do with a bit of patience!
Ingredients for a Perfect Cake
Once you have your tools ready, it’s time to gather your ingredients. The base of your heart-shaped cake is a simple, delicious cake recipe—nothing too complicated!
- Essential cake ingredients: To make a moist and fluffy cake, you’ll need crucial ingredients like flour, eggs, sugar, butter, and baking powder. These pantry staples combine to create the perfect texture.
- Optional add-ons: Want to elevate your cake? Add a chocolate drizzle, a few drops of food coloring for a vibrant touch, or even a handful of sprinkles to make it extra festive. These small touches add flavor and personality to your cake!
Alternative Decorations
The decorations are what will truly make your heart-shaped cake shine. Whether you prefer something smooth and polished or fun and whimsical, there are plenty of options to choose from.
- Buttercream frosting: For a smooth, professional-looking finish, buttercream frosting is the way to go. It’s easy to pipe, spreads well, and can be colored to suit any theme.
- Toppings: Get creative with your toppings! Fresh strawberries, edible glitter, or even chocolate shavings can add texture and extra flavor. Toppings are the final step that brings your heart-shaped cake to life!
Step-by-Step Guide to Make a Heart-Shaped Cake
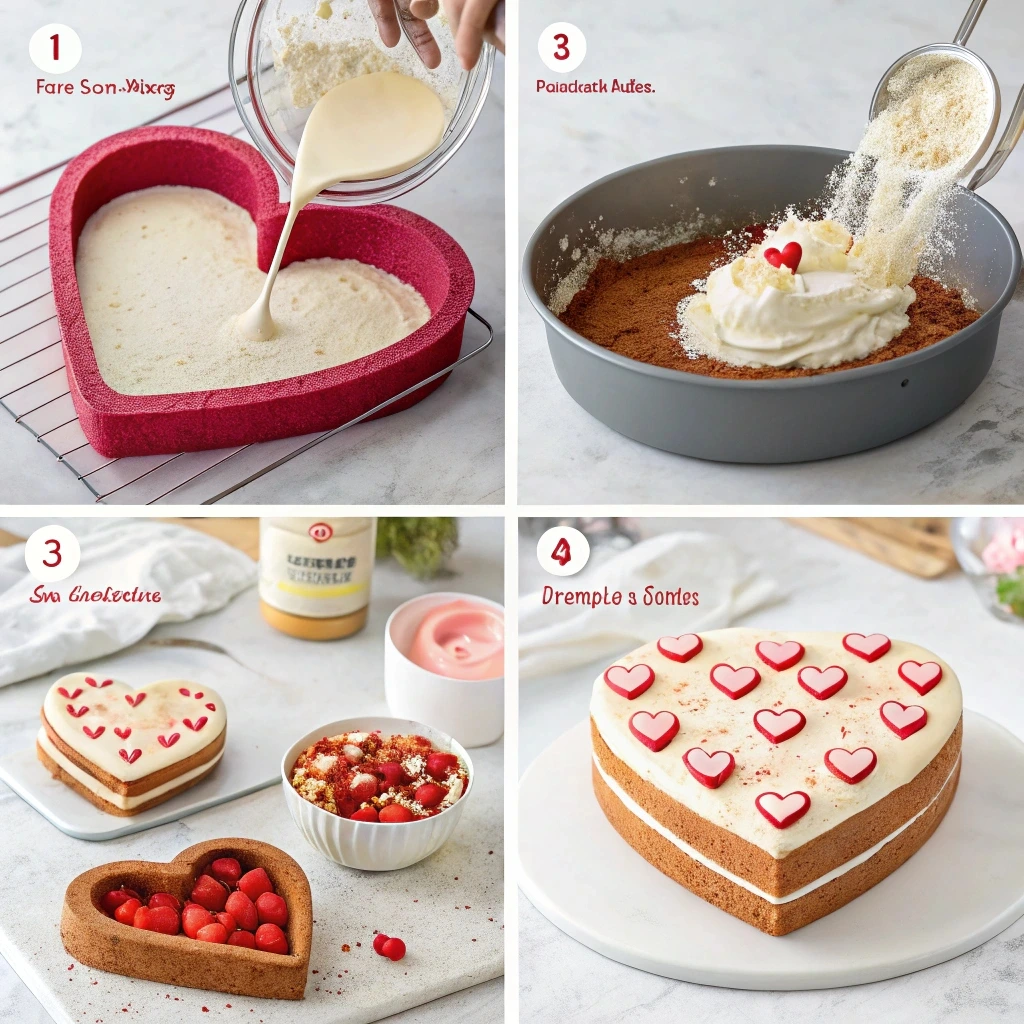
Creating a heart-shaped cake is more straightforward than it may seem, and you can do it with just a few simple steps. By using essential tools and techniques, you’ll end up with a beautiful cake that’s perfect for any celebration. Here’s a step-by-step guide to help you get the job done right:
Bake the Cake Layers
The first step in making a heart-shaped cake is baking the layers that will form the heart. For this, you’ll need a square pan and a round pan.
- Use the square and round pans for the base: Start by preparing both pans—grease them and line them with parchment paper. These two pans will serve as the building blocks for your heart-shaped cake.
- Tips for ensuring even baking: To achieve an even bake, ensure that both cakes are baked at the same temperature. Rotate the pans halfway through the baking time to avoid hot spots in your oven. Once the cakes are done, let them cool completely before proceeding. This step is crucial for easy shaping later on.
Shape Your Heart
Now that your cakes have cooled, it’s time to get creative and shape them into a heart. Here’s how you do it:
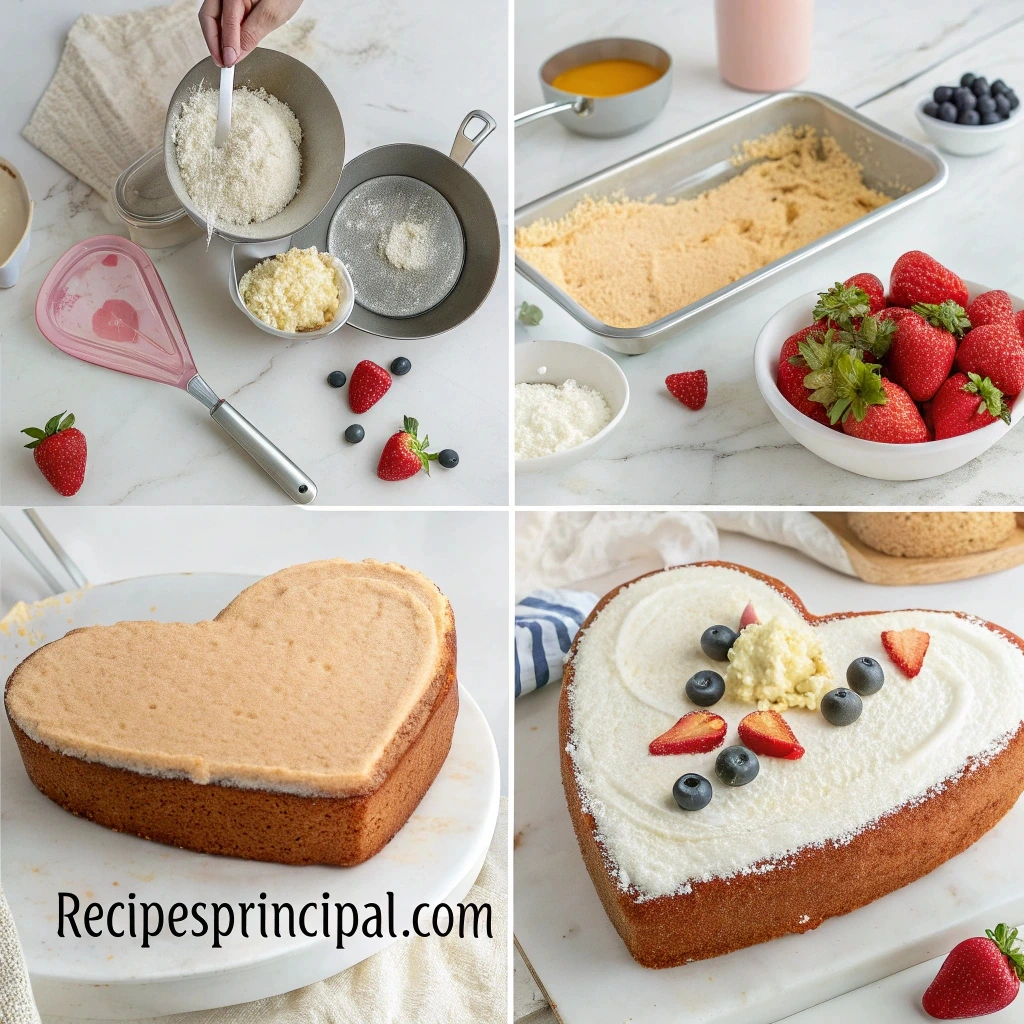
- Cutting and aligning the cakes: Take the square cake and cut a diagonal triangle from one of its corners (this will form the bottom of the heart). Now, place the round cake at the top of the square, making sure the round edges align with the top of the square base. This forms the heart shape!
- Use diagrams or photos for clarity: If you’re unsure about the alignment, reference diagrams or pictures for a visual guide. This can make the process more transparent and easier to follow, ensuring a perfect heart shape.
Assemble and Frost the Cake
Once you have your heart shape, it’s time to assemble and frost the cake to get it looking professional:
- Glue the pieces together with frosting: Using a thick layer of frosting, glue the two pieces (square and round cakes) together. Spread a thin layer of frosting on the seams to ensure they stick together. This step is crucial for keeping the shape intact.
- Frosting tips for a professional finish: To achieve a smooth finish, apply a crumb coat (a thin layer of frosting) to seal in the crumbs. Let the cake chill in the fridge for 15-20 minutes to firm up. Then, apply a final, thicker layer of frosting. For smooth edges, use an offset spatula to spread the frosting evenly over the entire cake.
Add the Finishing Touches
Now that your cake is assembled and frosted, it’s time to decorate! This is where you can really get creative.
- Decorative ideas: Add a chocolate drizzle on top of the cake for a glossy, decadent finish or pipe buttercream designs like rosettes, stars, or hearts to make the cake more festive.
- Write a message with frosting: If you want to personalize your cake, pipe a sweet message like “I Love You” or “Happy Anniversary” on top. You can use a piping bag or even a spoon to create your desired script.
- These simple steps will help you create a heart-shaped cake that’s not only delicious but also visually impressive!
Tips and Tricks for the Perfect Heart-Shaped Cake
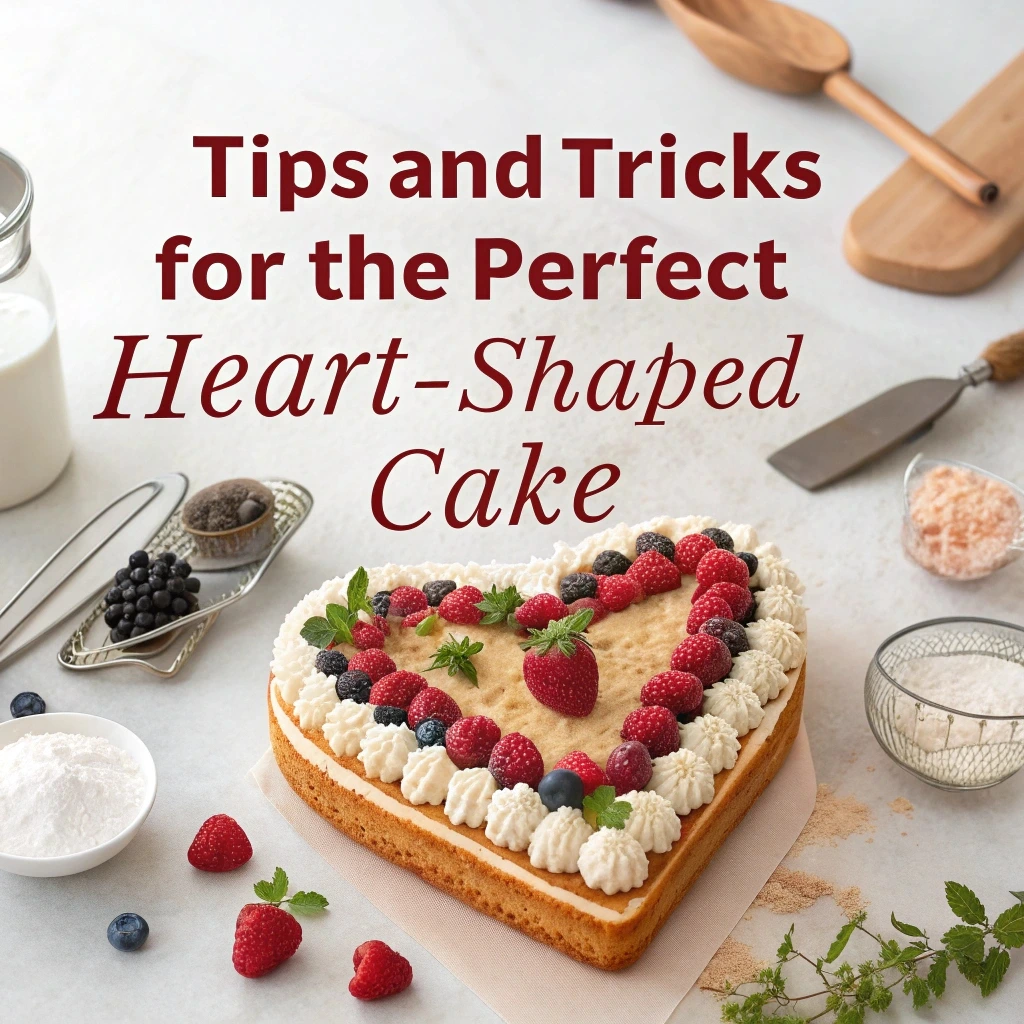
Making a heart-shaped cake is not just about getting the shape right—it’s about creating a memorable experience and a visually appealing treat. These tips and tricks will help you avoid common pitfalls, add a creative touch, and even make the process a fun activity for the whole family.
Common Mistakes to Avoid
Even with the best intentions, a few common mistakes can make your cake less than perfect. Here’s how to avoid them:
- Uneven cuts and frosting mishaps: One of the most common issues is uneven cutting when shaping the cake. To avoid this, use a sharp knife and make slow, deliberate cuts. Measure and mark the cuts beforehand for better precision. When frosting, ensure the cake layers are cool to prevent the frosting from melting or sliding off. Use a crumb coat to lock in loose crumbs before applying the final layer.
- Overbaking or underbaking the layers: Timing is crucial when baking your cake layers. Overbaking can make the cake dry while underbaking leaves the center gooey. Always check for doneness by inserting a toothpick into the center—it should come out clean. Keep an eye on the oven and follow the recipe’s baking time closely.
Creative Variations
A heart-shaped cake doesn’t have to be limited to the classic look. Get creative with colors, flavors, and decorations to make it truly unique:
- Add food coloring for a red or pink cake: For a romantic twist, add a few drops of red or pink food coloring to the batter. This works exceptionally well for vanilla or white cake recipes. You can also experiment with ombre layers for an extra wow factor.
- Try different flavors: Classic vanilla is always a safe choice, but why not mix it up? Chocolate, red velvet, or even strawberry-flavored cakes are great options. Pair the flavor with complementary frostings, like cream cheese for red velvet or chocolate ganache for a decadent chocolate cake.
How to Involve Kids in the Process
Baking a heart-shaped cake can be a delightful activity for kids. By giving them simple, manageable tasks, you can turn the experience into a fun and educational family project.
- Simple tasks they can handle: Let younger kids mix the batter, measure ingredients, or grease the pans. For older kids, they can help cut the cake into shape or spread the frosting. These tasks teach basic kitchen skills while keeping them engaged.
- Make it a fun and memorable family activity: Turn the decorating phase into a creative session by giving kids sprinkles, edible glitter, and piping bags to design their part of the cake. Please encourage them to express themselves and make the cake their own. Not only will this create cherished memories, but the final product will also have a personal, heartwarming touch.
By following these tips and tricks, you’ll not only make a perfect heart-shaped cake but also enjoy the process of bringing it to life!
FAQs About Heart-Shaped Cakes Without Special Pans
If you’re planning to make a heart-shaped cake without a special pan, you might have a few questions. This section answers some common concerns to help you bake confidently and efficiently.
Can I Use Other Pan Shapes?
Absolutely! While the combination of square and round pans is the most common method, other pan shapes can work, too:
- Rectangle pans: A rectangular cake can be cut into sections to create a heart shape. For example, cut one end into a V-shape for the bottom point and round the top edges to form the heart’s curves.
- Oval pans: If you have an oval pan, you can use it as a base for a heart shape by cutting the top into two rounded sections.
- Flexible molds: If you own flexible silicone molds in other shapes, they might allow you to create unique heart-inspired designs. Just ensure the pans are large enough to cut and reshape the cake without losing too much cake.
With a bit of creativity, almost any pan can help you achieve the perfect heart-shaped cake!
How Long Does It Take to Make?
The total time needed to make a heart-shaped cake depends on your baking and decorating process. Here’s a general breakdown:
- Baking the cake layers: Plan for about 30-40 minutes to bake the layers, depending on the recipe and size of your pans. Don’t forget cooling time, which adds another 30-60 minutes.
- Shaping the cake: Cutting and aligning the cake layers into a heart shape should take about 10-15 minutes.
- Assembling and decorating: Depending on how detailed you want your decorations, frosting, and final touches, it may take 30 minutes to an hour.
Set aside at least 2 to 3 hours for the entire process, including cooling and decorating time.
What’s the Best Frosting for This Cake?
Choosing the right frosting can elevate your heart-shaped cake’s flavor and presentation. Here are some popular options:
- Buttercream frosting: A classic choice that’s versatile and easy to work with. Buttercream is perfect for smooth finishes and intricate piping designs, such as flowers, rosettes, or writing messages.
- Whipped cream frosting: Light and fluffy, whipped cream frosting is ideal for a softer, less-sweet finish. It pairs beautifully with fruit toppings like strawberries or raspberries for a fresh and romantic look.
- Chocolate ganache: For a rich and indulgent option, go with ganache. It creates a glossy finish and pairs wonderfully with flavors like chocolate or red velvet cake.
Each type of frosting brings a unique texture and flavor, so choose the one that complements your cake and suits the occasion.
With these FAQs answered, you’ll be ready to tackle any challenges and create a stunning heart-shaped cake without the need for a special pan!
Conclusion
Creating a heart-shaped cake without a special pan is a fun and rewarding way to bake something truly unique. By using simple tools like square and round pans, you can craft a beautiful cake that’s perfect for special occasions like Valentine’s Day, anniversaries, or just because. This method not only saves you money and storage space but also gives you a chance to add a personal touch to your baking.
From baking and shaping the layers to decorating with love, the process is an enjoyable challenge that can involve your family and spark creativity. Whether you choose classic buttercream, decadent ganache, or fresh whipped cream for frosting, your heart-shaped cake will be a memorable centerpiece for any celebration.
With the tips, tricks, and step-by-step guidance provided, you’re ready to turn a simple idea into a show-stopping dessert. So roll up your sleeves, gather your ingredients, and let your creativity shine!
1 thought on “How To Make A Heart-Shaped Cake Without A Special Pan”