Introduction
Wafer cookies are a delightful treat that combines light, crispy texture with a subtle sweetness that melts in your mouth. Whether you’re looking to impress guests, create a nostalgic snack, or add a unique touch to your desserts, mastering the art of wafer cookies is simpler than you might think. In this guide, we’ll walk you through step-by-step techniques to achieve perfectly crisp wafer cookies every time. With just a handful of ingredients and a little patience, you’ll soon be baking these versatile treats like a pro. Let’s dive into the secrets of wafer perfection!
The Essentials: Ingredients and Tools for Wafer Cookie Success
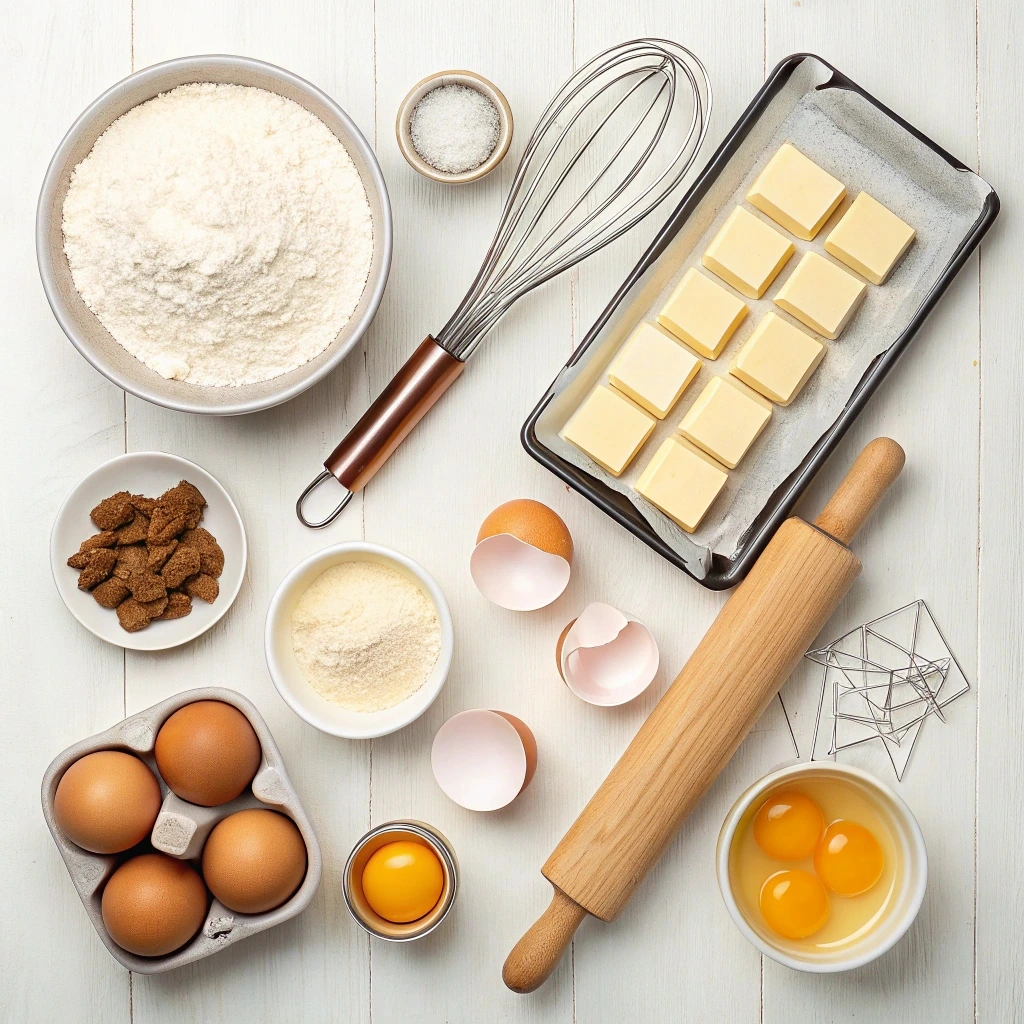
Key Ingredients for Wafer Cookies
When preparing wafer cookies, choosing the right ingredients is crucial for achieving that delicate, crisp texture. Here’s a deeper look at the must-have ingredients:
- Flour: Flour is the base of any cookie dough. For wafer cookies, all-purpose flour is typically preferred, as it provides the right balance of structure and softness. If you’re looking for a more delicate texture, you might experiment with cake flour from King Arthur, which has a finer grain and lower protein content, making the dough tender and light.
- Sugar: Sugar plays a key role in both flavor and texture. Granulated sugar is the most common choice for wafer cookies. It sweetens the dough and, during baking, helps the cookies achieve a crisp, golden finish. Powdered sugar can also be used to create a smoother batter and finer texture, but it’s usually paired with granulated sugar for optimal results.
- Eggs: Eggs provide moisture and help bind the dough together. For wafer cookies, large eggs are ideal. They contribute to the batter’s richness and help it spread evenly while baking. Be mindful not to overmix the batter, as eggs also help create the crisp texture and contribute to the cookies’ lightness.
- Vanilla Extract or Flavorings: Vanilla extract is often used to enhance the overall flavor profile of the wafer cookies. High-quality vanilla extract, made from real vanilla beans, offers a deep, aromatic flavor. For added creativity, consider using other flavorings such as almond extract, citrus zest, or cinnamon to give your wafer cookies a unique twist. The quality of these flavorings matters as cheaper versions can lack depth and richness.
- Butter: While not always necessary, unsalted butter contributes to the richness of wafer cookies. It helps create a crisp texture while adding a buttery flavor. Using unsalted butter allows you to control the amount of salt in the recipe, ensuring the right balance of sweetness and savory notes.
Essential Baking Tools for Wafer Cookies
Having the right tools at hand ensures smooth preparation and consistent results when making wafer cookies. Here’s a list of essential tools you’ll need:
- Wafer Iron or Waffle Cone Maker: The wafer iron is the most important tool when baking wafer cookies. It evenly bakes the dough, creating those characteristic thin, crisp wafers. If you don’t have a traditional wafer iron, a waffle cone maker is a good substitute as it also creates thin, crisp edges. Preheating the iron to the proper temperature is crucial to ensure an even bake.
- Mixing Bowls: Mixing bowls are essential for combining the ingredients. Use a medium to large-sized bowl for dry ingredients and a separate one for wet ingredients. This separation ensures better control over the consistency of the batter. Stainless steel or glass bowls are preferred as they are durable and easy to clean.
- Measuring Cups and Spoons: Accuracy in measurements is vital to getting the right dough consistency. Dry measuring cups should be used for flour, sugar, and other dry ingredients, while liquid measuring cups should be used for wet ingredients like eggs and vanilla extract. Measuring spoons are also crucial for precision, especially when adding flavorings like vanilla or almond extract.
- Cooling Rack: After baking, a cooling rack is essential for letting your wafer cookies cool properly. Placing them on a rack allows air to circulate, ensuring that the cookies stay crisp instead of becoming soggy. Cooling also prevents over-baking by allowing the residual heat to dissipate evenly.
- Piping Bags (Optional): While not strictly necessary, piping bags can be used for more precise control when applying the dough to the wafer iron. If you prefer uniformity and neatness, using a piping bag ensures the batter is evenly distributed and results in more aesthetically pleasing cookies.
Prepping for Success: Setting Up Your Workspace
Setting up your workspace efficiently can make a huge difference in the speed and ease of your wafer cookie preparation. Here are some tips for an organized, stress-free baking experience:
- Organize Ingredients and Tools: Before starting, gather all the ingredients and tools you’ll need. Lay them out in an organized manner, ensuring they are within easy reach. For example, keep your flour, sugar, and eggs on one side of your counter, while your wafer iron and cooling rack are ready nearby. This reduces the need to search for ingredients mid-bake and ensures a smoother process.
- Measure Ingredients Before Starting: Pre-measuring ingredients is key to an efficient workflow. Having everything ready to go will save you time during the preparation phase. Use small bowls or cups to portion out the ingredients beforehand so you can simply add them to the mixing bowl as needed.
- Prep the Wafer Iron: Preheat your wafer iron or waffle cone maker according to the manufacturer’s instructions. This step is crucial to achieving the correct baking temperature. If the iron is too cold, the batter may spread unevenly, resulting in undercooked cookies. If it’s too hot, the edges may burn before the center is fully cooked. Grease the plates lightly if necessary to prevent sticking, especially if you’re using a non-stick surface.
- Clean Workspace: A clean workspace makes the baking process more enjoyable and efficient. Wipe down surfaces, clear any clutter, and have a trash bowl handy for easy disposal of wrappers or packaging. This not only keeps your space tidy but also helps you stay focused while working.
- Measure Accurately: Ensure you’re using the correct measurements for each ingredient. Too much flour can make the dough dry and stiff, while too much sugar can make it overly sweet or cause the dough to spread too thin. Using a kitchen scale for more accuracy, especially for flour and butter, is a helpful tool for consistency.
Step-by-Step: Making Wafer Cookie Batter Like a Pro
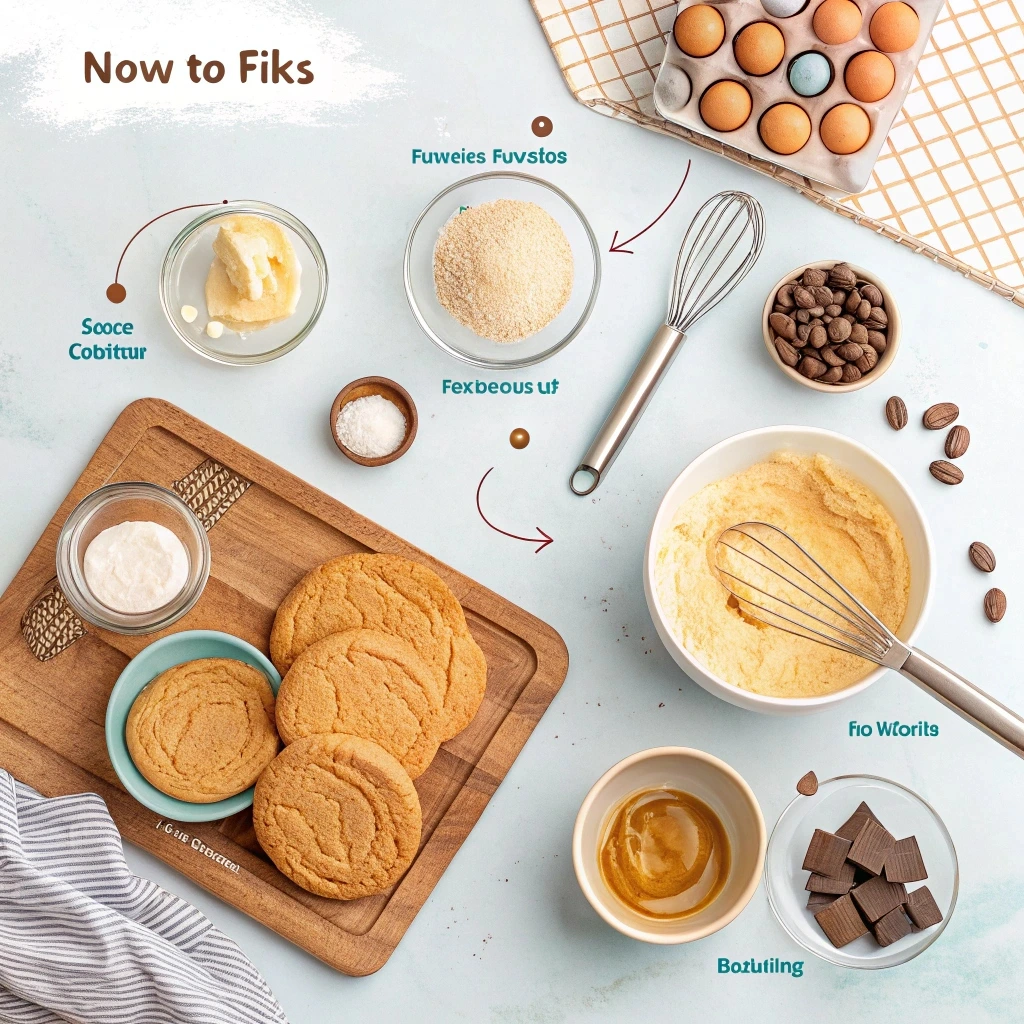
Combining the Ingredients: The Perfect Batter
The first step in making wafer cookies is combining the ingredients properly to create a smooth, uniform batter. Learn more about making wafer cookies here. Here’s a step-by-step breakdown:
- Mixing Dry Ingredients: Begin by sifting the flour and sugar together to remove any lumps. This ensures that the dry ingredients are evenly distributed and helps prevent clumps from forming in the batter. If you’re adding any spices (e.g., cinnamon or nutmeg), sift them in with the dry ingredients to ensure even flavor distribution.
- Mixing Wet Ingredients: In a separate bowl, whisk the eggs and vanilla extract together until smooth. If you’re using any other wet flavorings (like citrus juice or melted butter), combine them with the eggs at this stage. The goal is to create a smooth liquid mixture that will blend easily with the dry ingredients.
- Combining Wet and Dry: Gradually add the wet mixture to the dry ingredients, stirring gently with a spatula or wooden spoon. Start mixing slowly to ensure the ingredients are incorporated without overworking the dough. It’s essential to combine them just until smooth; overmixing can lead to a tough batter and affect the texture of your wafers.
- Avoiding Lumps: If you notice lumps in the batter, try to break them up by stirring gently. However, be cautious not to overmix, as this can cause the batter to become too thick or dry. If lumps persist, you can use a whisk to gently smooth out the batter.
Achieving the Right Consistency
For perfect wafer cookies, achieving the right batter consistency is key. The texture of your batter will determine how thin or thick your cookies turn out. Here’s what to look for:
- Ideal Consistency: The batter should be thick enough to hold its shape when dropped onto a spoon but still slightly pourable. It should flow smoothly without being runny. If the batter is too thin, the cookies will spread too much and lose their crispness; if it’s too thick, the cookies will be dense and chewy rather than light and airy.
- Adjustments for Thicker Wafers: If you prefer thicker wafers, you can add a small amount of extra flour, one tablespoon at a time. Mix thoroughly and test the batter’s consistency again before adding more flour. A thicker batter will create cookies that are more substantial and less crisp.
- Adjustments for Thinner Wafers: For thinner, more delicate wafers, you can thin the batter by adding a tiny bit of milk or water. Add just a teaspoon at a time to avoid making the batter too runny. The goal is to create a batter that is smooth but can still form a thin layer when pressed in the wafer iron.
- Test the Consistency: To test the batter’s consistency, drop a spoonful onto a plate. The batter should spread slightly but maintain its shape. If it pools too much, it’s too runny; if it doesn’t spread at all, it’s too thick.
Adding Flavors and Variations
Wafer cookies are incredibly versatile, and adding creative flavors can make them even more exciting. Here are some ideas for flavor variations:
- Chocolate Wafer Cookies: For a chocolate twist, mix in cocoa powder with the dry ingredients. You can also fold in chocolate chips for a chunkier, more indulgent texture. Adjust the amount of sugar slightly if you’re adding cocoa to balance out the bitterness.
- Citrus Zest: A bit of lemon or orange zest can add a fresh, bright flavor to your wafer cookies. Add the zest directly into the dry ingredients to ensure it’s evenly distributed throughout the batter. This variation pairs particularly well with the delicate, crisp texture of wafer cookies.
- Spices: To give your cookies a warm, aromatic flavor, try adding cinnamon, nutmeg, or ginger. A pinch of cardamom can also add a unique, exotic flavor. Spices should be added in moderation; a little goes a long way, so start with just ¼ teaspoon and taste-test the batter.
- Vanilla Bean Paste: For a more intense vanilla flavor, consider using vanilla bean paste instead of regular extract. This version has a richer, more complex flavor profile and will make your cookies taste even more luxurious.
- Nut Variations: You can also incorporate finely chopped nuts like almonds, hazelnuts, or pecans into the batter. These add both flavor and texture, giving your wafer cookies an extra crunch. Make sure to chop the nuts finely to avoid disrupting the delicate texture of the wafer.
- Salted Caramel or Toffee: For a sweet and savory twist, consider adding small pieces of salted caramel or toffee bits. These melt beautifully into the wafer dough and add an unexpected burst of flavor with every bite.
Cooking and Shaping: Tips for Evenly Baked Wafers

Using a Wafer Iron: Techniques for Uniformity
Cooking your wafer cookies evenly requires precision and technique. The wafer iron is the key tool for making these delicate treats, so using it properly is essential for the best results:
- Preheating the Wafer Iron: Before placing any batter inside, preheat the wafer iron. This ensures that the batter cooks evenly right from the start. It’s important that the temperature is consistent for all wafers to avoid undercooked or overcooked sections. Many wafer irons have an indicator light that lets you know when it has reached the right temperature.
- Measuring the Batter: To ensure uniform cookies, it’s crucial to use the right amount of batter. Using a tablespoon or small ice cream scoop, place a small, even amount of batter onto the center of each section of the wafer iron. The batter should be spread out slightly, but don’t overfill the iron, as this can cause the batter to spill over and create uneven cooking.
- Closing the Wafer Iron: Gently close the lid of the wafer iron, making sure that it is aligned correctly. Apply light but even pressure when closing the lid. This pressure ensures that the batter spreads evenly between the plates and cooks uniformly. Avoid pressing too hard, as this can result in thinner wafers than desired.
- Cooking Time: The cooking time for wafer cookies will vary depending on the thickness of your batter and the heat of your iron. Typically, wafers should take between 1-2 minutes to cook. Keep a close eye on the wafers; they should turn golden brown without getting too dark. For best results, check the first batch, adjust the timing, and repeat with consistency in mind.
- Ensuring Even Cooking: If you’re noticing burnt edges, try adjusting the heat setting or reducing the cooking time slightly. If the wafers are not cooking enough in the center, increase the cooking time or adjust the amount of batter used. Rotate the wafer iron occasionally to ensure uniform heat distribution. This technique will give you evenly browned wafers every time.
Shaping Your Wafer Cookies: Creative Options
Once your wafers are baked, you can shape them in fun and creative ways to create unique treats. Here are some popular methods:
- Rolling into Cones: One of the most iconic shapes for wafer cookies is the cone. After the wafer is cooked and still warm, use a cone-shaped mold (or even just your fingers) to gently roll the wafer into a cone shape. Hold it in place for a few seconds until it cools and holds its form. This shape is ideal for serving with ice cream, whipped cream, or even filling with your favorite candies.
- Shaping Bowls: For a unique twist, try shaping the wafers into small bowls. While they are still warm and flexible, gently press the wafer into an upside-down muffin tin or small bowl to create a bowl shape. This is perfect for serving small desserts like fruit salads, mousse, or cream-based treats.
- Cutting into Squares: If you want a more traditional wafer cookie shape, simply cut the wafers into squares or rectangles while they’re still warm. Use a sharp knife or pizza cutter to get clean edges. These classic shapes are easy to stack and make great additions to snack plates or gift boxes.
- Shaping with Cookie Cutters: After the wafers cool, you can use cookie cutters to cut them into fun shapes like hearts, stars, or even seasonal shapes like pumpkins or snowflakes. This allows you to customize the wafers for special occasions and gives them a playful, decorative touch.
- Layering Wafers: Another fun idea is to layer several thin wafers together with a sweet filling (like whipped cream, jam, or chocolate ganache) to create wafer stacks or sandwich cookies. This adds a rich texture contrast and makes the wafer cookies more decadent.
Troubleshooting Common Issues
Even with careful preparation, wafer cookies can sometimes present challenges. Here’s how to troubleshoot some of the most common issues:
- Wafers Are Too Soft: If your wafers are coming out too soft and not crisping up, this could be due to the batter being too wet. Reduce the liquid content slightly in your recipe or ensure that you’re cooking them long enough. Also, check that the wafer iron is hot enough before you begin cooking.
- Wafers Are Too Brittle: On the other hand, if your wafers are breaking or crumbling too easily, it could be that they are too dry or overcooked. Adjust the cooking time by reducing it slightly, or add a touch more butter to the batter to ensure moisture. If you’re using too much flour, try reducing it by a tablespoon or two.
- Unevenly Baked Wafers: If your wafers are coming out unevenly baked, with some areas dark and others light, it could be due to an uneven heat distribution in your wafer iron. Try rotating the wafer iron halfway through cooking to ensure that the batter cooks uniformly. Also, make sure that you are applying even pressure when closing the lid.
- Wafers Stick to the Iron: If the batter is sticking to the wafer iron, this could be because it wasn’t greased enough or the batter is too thick. Lightly grease the iron with a non-stick spray or a small amount of oil to help prevent sticking. Additionally, make sure the batter is spread evenly inside the iron to avoid clumping.
- Wafers Are Too Thick: If the wafers are turning out too thick, you may be using too much batter or your wafer iron may be too hot. Use less batter per section, and try cooking at a slightly lower temperature to allow the wafers to cook evenly without becoming too thick.
- Wafers Are Too Dark: If your wafers are becoming too dark or burnt at the edges, try lowering the temperature or decreasing the cooking time. Burnt edges can occur if the heat is too high, so dial it back for more evenly browned wafers.
This expanded section provides a thorough approach to cooking and shaping wafer cookies, offering tips for ensuring uniformity in the baking process and creative shaping ideas. Additionally, troubleshooting common issues will help ensure that your wafer cookies come out perfectly every time. The content follows the AyoubGeo structure for clarity and detailed instructions. Let me know if you need further assistance! 😊
Storing and Serving Wafer Cookies: Keep Them Fresh
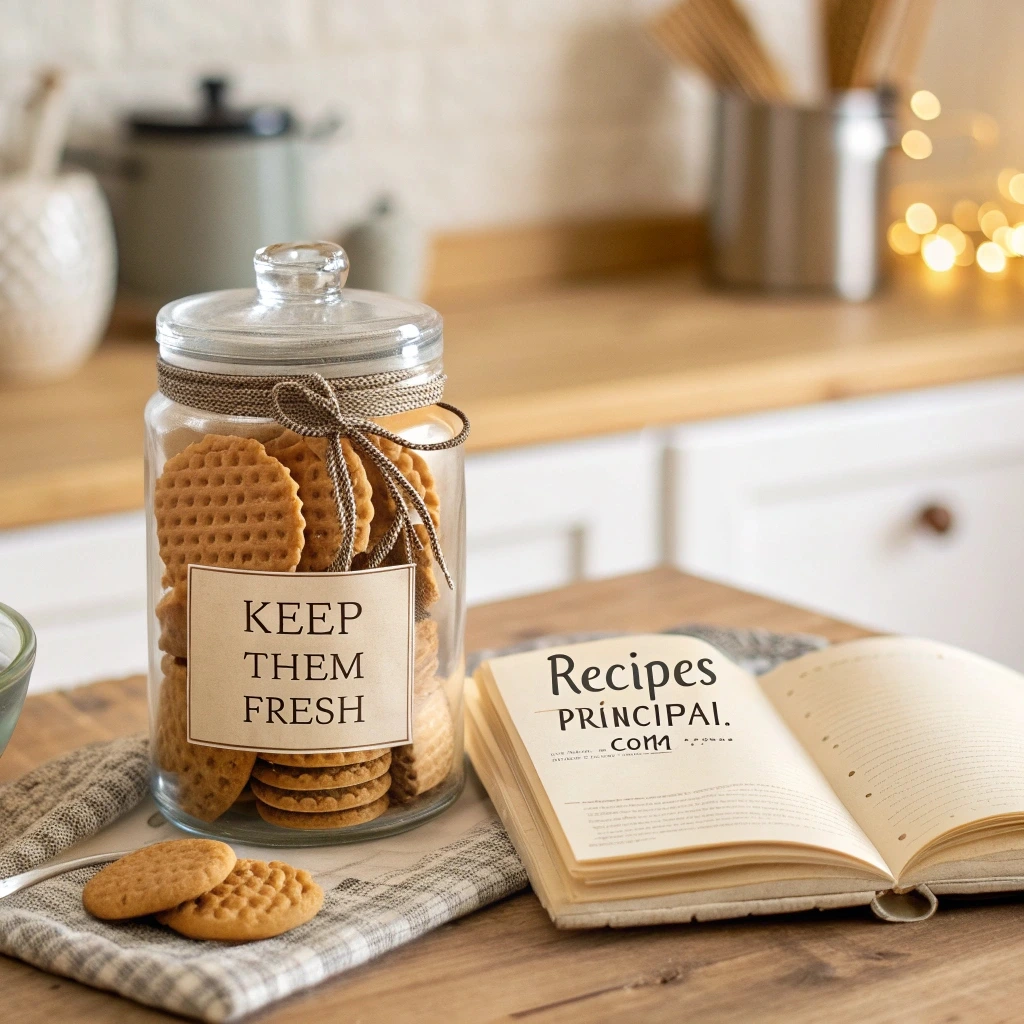
Best Practices for Storing Wafer Cookies
When it comes to storing wafer cookies, preserving their crisp texture and fresh flavor is essential. Here are key practices to follow:
- Airtight Containers: After baking your wafer cookies, it’s crucial to store them in airtight containers to prevent moisture from softening them. Use containers with a good seal to block out air and humidity, which can make your wafers lose their crispiness. Options include glass jars, metal tins, or heavy-duty plastic containers.
- Cool, Dry Storage: Wafer cookies should be stored in cool and dry places, away from heat or humidity. Avoid storing them in the refrigerator, as the moisture inside can soften the cookies. Opt for a kitchen pantry, cupboard, or countertop in a cool room. Keeping them away from direct sunlight and extreme temperature changes will help maintain their crunch.
- How Long They Stay Fresh: Proper storage will ensure that your wafer cookies stay fresh for up to 1-2 weeks. To keep them at their best, try to consume them within a week. If you want to store them longer, you can freeze them in an airtight bag or container. When ready to serve, simply thaw them at room temperature to restore their crisp texture.
- Freezing for Long-Term Storage: If you plan to make wafer cookies in advance or have leftovers, freezing them is a good option. Place the cooled wafers in an airtight freezer bag or container. Frozen wafer cookies can last up to 3 months in the freezer. Be sure to allow them to come to room temperature before serving, as this will help restore their crispy texture.
For more tips on making and storing your perfect wafer cookies, check out this guide.
Creative Serving Ideas
Wafer cookies are incredibly versatile and can be served in many creative ways to elevate your desserts or snack time. Consider these ideas for serving your delicious wafers:
- Pairing with Ice Cream: Wafer cookies pair perfectly with ice cream—whether you want to create an ice cream sandwich or simply serve a scoop alongside your wafers. The crispness of the wafer contrasts beautifully with the creamy texture of the ice cream, making it a refreshing dessert. You can also crumble wafer cookies over a bowl of ice cream for an added crunch.
- Custards and Chocolate Dips: Another great way to serve wafer cookies is by dipping them into chocolate fondue or custard. The combination of a crunchy wafer and rich, smooth dip creates a satisfying texture contrast. For a more indulgent experience, melt chocolate and dip your wafers into it, allowing the chocolate to harden as it cools.
- Layered Desserts: You can use wafer cookies in layered desserts like trifles or parfaits. Break the wafers into pieces and layer them with whipped cream, fruits, or chocolate mousse for a stunning dessert. This not only enhances the flavor but also adds visual appeal to your creation.
- Cake Toppers: Wafer cookies are a unique and elegant addition to cakes and cupcakes. You can use whole wafers as a decorative garnish on top of a cake or break them into smaller pieces to sprinkle over a frosted cupcake. They provide an extra crunch and make your cakes look even more special.
- Turning Them into Pastry Rolls or Cones: For an even more creative twist, roll the wafer cookies into cones or other shapes after baking, while they are still warm. Once cooled, you can fill them with whipped cream, ice cream, or fruit for a fun and beautiful presentation.
Gifting Wafer Cookies: Homemade Treats
Homemade wafer cookies make delightful gifts, especially during the holidays or for special occasions. Here’s how to present your wafer cookies in the most thoughtful and stylish way:
- Packaging Ideas: To give your wafer cookies as a gift, use decorative packaging such as gift tins, cellophane bags, or small boxes. You can line the containers with tissue paper for added elegance. If it’s around the holiday season, use festive colors or holiday-themed boxes to make the presentation even more special. Wrap the packaging with a ribbon or twine for a finishing touch.
- Adding a Personal Touch: Make the gift extra special by including a handwritten note with a personalized message or a recipe card. This small gesture shows thoughtfulness and adds a personal connection to your gift. You can also label the gift with a name tag that includes the flavor or type of wafer cookies you’ve made.
- Layering with Other Treats: If you want to create an extra special gift basket or package, consider layering the wafer cookies with other homemade treats. Add chocolates, fudge, or other small baked goods to accompany the wafers. This combination of treats makes for a delightful gift box, perfect for any occasion.
- Holiday and Special Occasion Gifting: Wafer cookies are particularly great for holiday gifts (Christmas, New Year’s, etc.) or special events like birthdays, housewarmings, or Mother’s Day. You can customize the wafer cookies to fit the theme of the occasion by incorporating holiday spices like cinnamon or nutmeg or decorating them with colored icing for a festive touch.
- Presentation for Corporate Gifting: If you’re gifting wafer cookies to colleagues or clients, consider creating a corporate gift box. Customize the packaging with your company’s branding and offer a selection of wafer cookies in various flavors. This thoughtful and delicious gift can leave a lasting impression.
This expanded section on “Storing and Serving Wafer Cookies: Keep Them Fresh” offers a wealth of practical advice on how to store, serve, and present your wafer cookies. From ensuring they remain crisp and fresh for weeks to coming up with creative ways to serve them, this section helps you make the most of your wafer cookie experience. Whether you’re hosting a party, serving a dessert, or gifting homemade treats, these tips ensure that your wafer cookies stay delicious and impressive.
Conclusion
Mastering the art of wafer cookies is simpler than you might think when you follow the right steps. By using quality ingredients, understanding the tools, and perfecting your techniques, you can create light, crisp, and delicious wafers that will impress family and friends alike. Whether you enjoy them on their own, pair them with ice cream, or shape them into elegant dessert bowls, the possibilities are endless.
Don’t be afraid to experiment with flavors or get creative with shapes—you might just discover a new favorite twist! With these tips in hand, you’re well on your way to becoming a wafer cookie pro.
Now it’s your turn: try these steps and let us know how your wafer cookies turned out. Share your creations, questions, or favorite flavor combinations in the comments below. Happy baking!
