Introduction
Wafer cookies are a beloved treat known for their light, crispy texture and subtle sweetness. Perfect on their own or paired with desserts, these versatile cookies are a delight for all ages. But did you know they’re surprisingly easy to make at home?
In this post, you’ll discover how to create wafer cookies in your own kitchen, whether you’re craving the classic vanilla flavor, a rich chocolate twist, or festive variations for special occasions. With simple ingredients and easy-to-follow instructions, these recipes are perfect for anyone who loves baking or wants to try something new.
Get ready to whip up delicious wafer cookies that are sure to impress your family and friends!
Classic Vanilla Wafer Cookies
What You Need: Essential Ingredients for the Traditional Vanilla Flavor
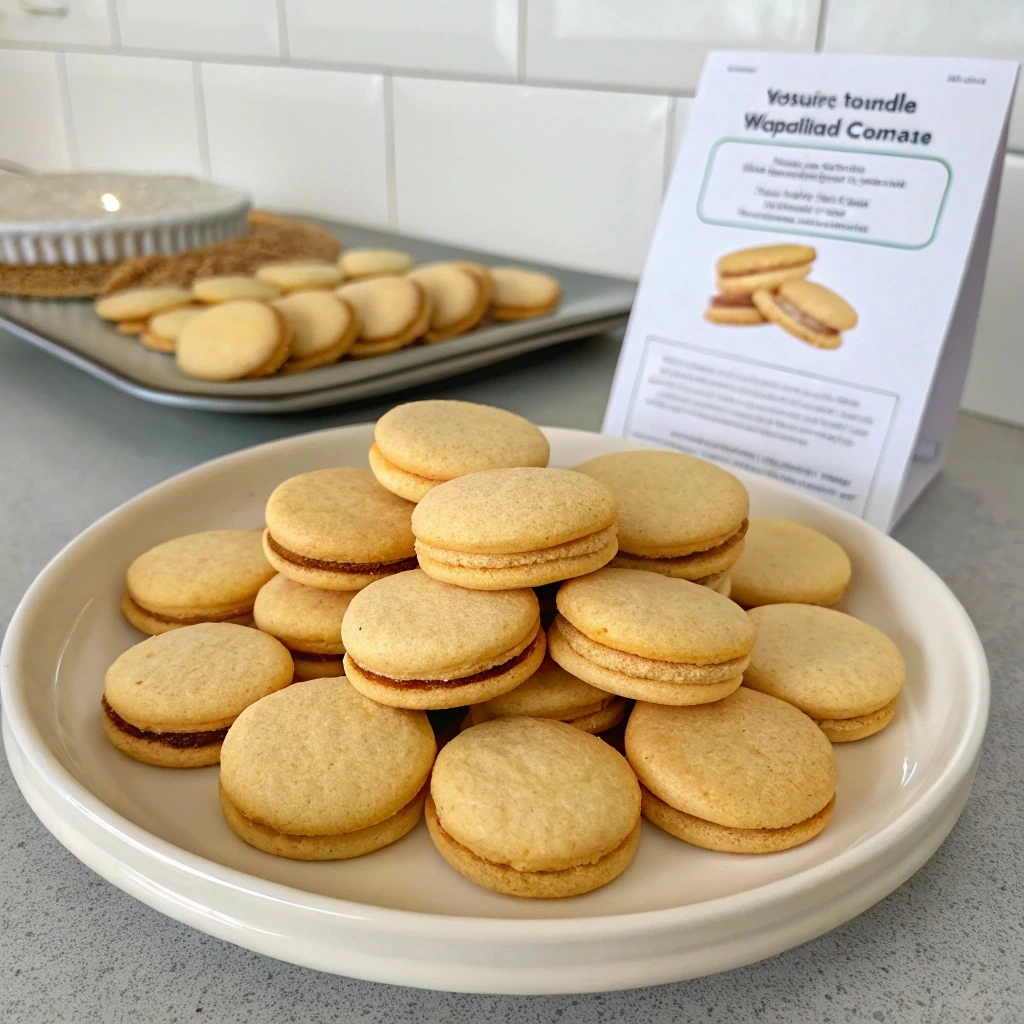
Classic vanilla wafer cookies require simple pantry staples that work together to create tTo incorporate outbound links into the content, here’s how you can include the link to the article “10 Easy Wafer Cookie Recipes You Can Make at Home” while maintaining a natural flow:
Classic vanilla wafer cookies require simple pantry staples that work together to create their signature crispiness and rich vanilla taste. Here’s what you’ll need and why each ingredient matters:
- All-purpose flour (1 ½ cups): This provides the cookie’s structure and ensures a light, airy texture. For a finer crumb, sift the flour before use.
- Granulated sugar (¾ cup): Adds sweetness without overpowering the delicate vanilla flavor. Use superfine sugar for a smoother batter.
- Unsalted butter (½ cup, softened): Key to achieving the melt-in-your-mouth texture. Softened butter ensures proper mixing and prevents the cookies from becoming greasy.
- Vanilla extract (1 tsp): The defining ingredient for these cookies. Opt for pure vanilla extract for an authentic flavor, or experiment with vanilla bean paste for added depth.
- Eggs (2, room temperature): These bind the ingredients, add moisture, and contribute to the cookies’ light texture. Room-temperature eggs blend more easily into the batter.
- Baking powder (½ tsp): Helps the cookies puff slightly, ensuring a balanced crispness.
- Salt (a pinch): Enhances the sweetness and rounds out the vanilla flavor.
- Optional: A splash of milk (1–2 tbsp) can be added if the dough is too dry, especially in colder climates.
Step-by-Step Instructions: How to Prepare, Bake, and Store Them
- Prepare Your Baking Equipment: Preheat your oven to 350°F (175°C). Line two baking sheets with parchment paper or silicone mats to prevent sticking.
- Cream Butter and Sugar: In a large mixing bowl, use a hand mixer or stand mixer to cream the softened butter and sugar until pale and fluffy, about 2-3 minutes. This step ensures air is incorporated for a lighter texture.
- Incorporate Eggs and Vanilla: Add eggs one at a time, beating well after each addition. Stir in the vanilla extract to evenly distribute the flavor.
- Mix Dry Ingredients: In a separate bowl, whisk together the flour, baking powder, and salt. Gradually add this dry mixture to the wet ingredients, mixing on low speed until just combined. Avoid overmixing, as this can result in dense cookies.
- Shape the Cookies: Using a piping bag fitted with a round tip, pipe small circles of dough onto the prepared baking sheets, leaving about 2 inches between each cookie. Alternatively, use a teaspoon to drop small mounds of dough.
- Bake: Bake for 10-12 minutes, or until the edges are lightly golden. Rotate the baking sheets halfway through for even baking.
- Cool and Store: Let the cookies cool on the baking sheet for 2 minutes before transferring them to a wire rack. Once completely cooled, store them in an airtight container at room temperature for up to 7 days.
Pro Tips: Achieving Perfect Crispness and Balancing Sweetness
- Measure Precisely: Weigh your ingredients using a kitchen scale for the most consistent results.
- Butter Consistency: Softened butter should hold its shape but yield to light pressure. Avoid melted butter, which can lead to flat, greasy cookies.
- Chill the Dough (if needed): If the dough feels too soft, chill it for 10-15 minutes to make it easier to handle and prevent spreading during baking.
- Monitor Baking Time: Every oven is different, so check your cookies at the 9-minute mark. Remove them as soon as the edges turn golden for the ideal texture.
- Flavor Boost: If you love a stronger vanilla flavor, add an extra ¼ teaspoon of vanilla extract or a pinch of vanilla powder.
- Sweetness Adjustment: If you prefer a less sweet cookie, reduce the sugar by 1-2 tablespoons, but avoid cutting too much, as it affects the texture.
By following these detailed steps and tips, you’ll create classic vanilla wafer cookies that are perfectly crispy, delicately sweet, and impossible to resist!
For more delicious cookie recipes, check out our 10 Easy Wafer Cookie Recipes You Can Make at Home.
Chocolate Wafer Cookies for a Decadent Treat
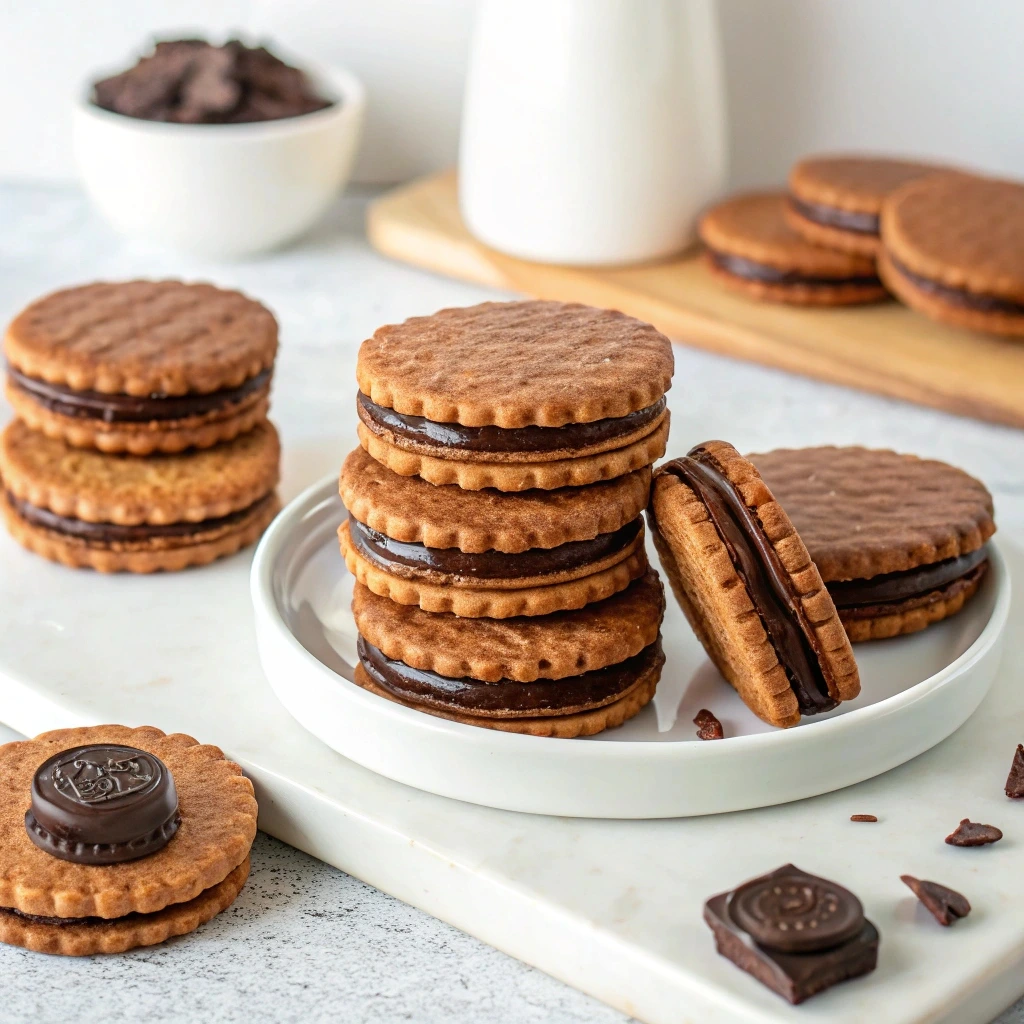
Rich Chocolate Variation: Using Cocoa Powder for an Intense Chocolate Flavor
Chocolate wafer cookies take the classic vanilla version to a whole new level with the rich, indulgent flavor of cocoa powder. Here’s how to perfect the chocolate variation:
- High-Quality Cocoa Powder (⅓ cup): For an intense chocolate flavor, choose high-quality unsweetened cocoa powder. Dutch-processed cocoa offers a smoother, less acidic flavor, while natural cocoa adds a bit more sharpness. The cocoa powder gives the cookies a rich, deep chocolate color and taste.
- Flour (1 ¼ cups): Use slightly less flour compared to the vanilla version to allow the cocoa to take center stage. This will help maintain the delicate texture of the wafer while allowing the chocolate flavor to shine.
- Granulated Sugar (¾ cup): Sweetness is necessary to balance the bitterness of the cocoa. You can adjust the sugar to suit your preference, but be careful not to reduce it too much, as the cocoa’s natural bitterness can overpower the flavor.
- Unsalted Butter (½ cup, softened): Butter is key to creating a crisp, flaky texture. Softened butter ensures the dough comes together smoothly, while adding richness and flavor to the cookies.
- Eggs (2, room temperature): Eggs are essential for binding the ingredients together and creating a tender texture. Room-temperature eggs mix better and result in a smoother dough.
- Vanilla Extract (1 tsp): A touch of vanilla extract enhances the chocolate flavor, creating a more complex taste and aroma.
- Baking Powder (½ tsp): Baking powder gives the cookies a slight puff, helping them maintain a light and airy texture despite the density of the cocoa.
- Salt (a pinch): Salt helps balance the sweetness and intensifies the chocolate flavor, creating a more rounded and satisfying taste.
Pairing Ideas: Ice Cream Sandwiches or as a Side with Coffee
Chocolate wafer cookies aren’t just delicious on their own; they pair beautifully with many treats and drinks to elevate the experience. Here are some pairing ideas:
- Ice Cream Sandwiches: The crisp, delicate texture of the chocolate wafer cookies pairs perfectly with creamy ice cream. Vanilla, chocolate, or even coffee ice cream work wonderfully. For an extra indulgent touch, sprinkle some crushed chocolate wafers over the edges for a crunchy finish.
- Coffee or Hot Chocolate: These cookies complement hot beverages like coffee, espresso, or hot chocolate. Their slightly bittersweet chocolate flavor balances the richness of the drink, especially when dunked. For a more luxurious treat, pair them with a frothy cappuccino or mocha.
- Milk or Nut Milk: The classic pairing of cookies with milk is a timeless favorite. Almond or oat milk can also be used for a more unique twist, offering a nutty contrast to the rich chocolate cookies.
- Fruit Pairings: Fresh berries, such as raspberries or strawberries, pair wonderfully with chocolate. Their tartness contrasts nicely with the sweetness of the cookies, creating a balanced bite. A drizzle of chocolate or caramel sauce over the cookies can also add a beautiful touch.
- Gourmet Cheese: For an unconventional pairing, serve these chocolate wafer cookies alongside a mild, creamy cheese like mascarpone or goat cheese. The contrast between the rich chocolate and tangy cheese creates an unexpected but delicious combination.
Storage Guide: How to Keep Them Fresh and Crunchy
Chocolate wafer cookies are best enjoyed fresh, but with the right storage methods, they’ll stay crispy and delicious for several days. Here’s how to keep them fresh and crunchy:
- Cool Completely Before Storing: After baking, let the cookies cool completely on a wire rack. Storing warm cookies can lead to condensation inside the storage container, which can soften the cookies.
- Use an Airtight Container: Once cooled, store the cookies in an airtight container. This prevents moisture from getting in and ensures they stay crisp. For added protection, you can place a layer of parchment paper between the cookies to prevent sticking.
- Store at Room Temperature: Keep the container in a cool, dry place, away from direct sunlight and heat sources. Your kitchen counter or pantry should work well, as long as it’s not too warm or humid.
- Freezing for Long-Term Storage: If you want to extend the shelf life of the cookies, you can freeze them. Place the cookies in a freezer-safe bag or container, separating layers with parchment paper. They’ll stay fresh for up to 3 months in the freezer. To enjoy, let the cookies thaw at room temperature for about 10 minutes.
- Refreshing Soft Cookies: If your cookies lose their crispness over time, you can restore them by placing them on a baking sheet and warming them in a 300°F (150°C) oven for 5-7 minutes. This helps them regain their crunchy texture.
Gluten-Free Wafer Cookies Everyone Can Enjoy

Gluten-Free Variation: Adapting the Classic Recipe for Gluten Sensitivities
Making gluten-free wafer cookies doesn’t mean compromising on taste or texture. With the right substitutions, you can create a crisp, light cookie that everyone can enjoy. Here’s how to adapt the traditional recipe to be gluten-free:
- Gluten-Free Flour Blend (1 ½ cups): Use a high-quality gluten-free all-purpose flour blend. These blends typically contain a mix of rice flour, potato starch, and tapioca flour, which work well in cookie recipes. Be sure to choose one that includes xanthan gum or guar gum, as these ingredients help mimic the binding properties of gluten. If your blend doesn’t include them, you can add ½ teaspoon of xanthan gum.
- Cornstarch (1 tbsp): Cornstarch helps provide tenderness and lightness to gluten-free cookies, giving them a delicate, melt-in-your-mouth texture.
- Sugar (¾ cup): Granulated sugar works well to maintain the sweetness and crisp texture of gluten-free wafer cookies. You can also experiment with coconut sugar or other natural alternatives for a different flavor profile.
- Unsalted Butter (½ cup, softened): The richness of butter is essential for achieving a crisp, delicious cookie. Make sure to use softened butter so it blends seamlessly with the other ingredients.
- Eggs (2, room temperature): Eggs bind the ingredients and help provide structure, crucial for gluten-free baking. Room-temperature eggs mix more evenly, preventing the dough from becoming too sticky.
- Vanilla Extract (1 tsp): Vanilla enhances the flavor of gluten-free cookies, providing a classic taste that complements the other ingredients.
- Baking Powder (½ tsp): Gluten-free cookies can benefit from the lift provided by baking powder, which helps create a slightly puffed texture.
- Salt (a pinch): Salt balances the sweetness and enhances the other flavors, giving the cookies a fuller taste.
Optional: For a richer flavor, consider adding ¼ cup of finely ground almonds or almond flour to the dough, which can provide a subtle nutty flavor and extra moisture.
Pairing Ideas: Perfect for All Diets and Occasions
Gluten-free wafer cookies aren’t just for those with dietary restrictions; they make a perfect treat for everyone to enjoy. Here are some great pairing ideas:
- Dairy-Free or Vegan Ice Cream Sandwiches: If you’re catering to dairy-free or vegan guests, use a plant-based ice cream to create the ultimate gluten-free ice cream sandwich. Coconut milk, almond milk, or oat milk-based ice creams work perfectly.
- Fruit Dips or Yogurt: Serve the cookies with a refreshing fruit dip, like whipped coconut cream or Greek yogurt with honey, for a sweet contrast. Strawberries or raspberries are especially complementary to the lightness of gluten-free wafers.
- Tea or Coffee Time: These cookies are perfect for pairing with a cup of tea or coffee. Their light and crisp texture blend beautifully with a hot drink, whether it’s black tea, herbal tea, or a cup of espresso.
- Chocolate Fondue: For a more indulgent treat, serve your gluten-free wafer cookies alongside a bowl of melted chocolate or caramel for dipping. The cookies’ crunch adds the perfect texture to the smooth chocolate.
- Crumble Over Parfaits: Break the cookies into pieces and sprinkle them over a yogurt parfait or as a topping for a fruit salad. Their crispness adds a nice texture contrast to creamy or juicy components.
Storage Guide: Keeping Gluten-Free Cookies Fresh and Crunchy
Maintaining the crispness of gluten-free wafer cookies is essential, as they can soften more quickly than traditional cookies. Here’s how to store them to preserve their texture:
- Cool Completely Before Storing: Allow the cookies to cool fully on a wire rack before placing them in a storage container. This prevents moisture from building up and making the cookies soggy.
- Use an Airtight Container: Once cooled, store the cookies in an airtight container to keep them fresh and crisp. Consider layering parchment paper between the cookies to prevent them from sticking together.
- Store at Room Temperature: Keep the container in a cool, dry area away from direct sunlight or humidity. A pantry or kitchen counter works best for short-term storage (up to 5 days).
- Freezing for Extended Storage: For long-term storage, place the cookies in a freezer-safe bag or container. You can freeze gluten-free wafer cookies for up to 3 months. To thaw, leave them at room temperature for 10–15 minutes.
- Re-crisping Softened Cookies: If the cookies become soft, you can re-crisp them by placing them on a baking sheet in a 300°F (150°C) oven for about 5-7 minutes. Let them cool on a wire rack to restore their crisp texture.
By following these storage tips, your gluten-free wafer cookies will remain fresh, crisp, and perfect for enjoying at any time.
Festive Wafer Cookies for Special Occasions

Creative Shapes and Colors: Fun Ideas Using Food Coloring and Molds
Making wafer cookies for special occasions is a fun way to add creativity and personalize treats for holidays, birthdays, or any celebration. By using food coloring and cookie molds, you can create visually striking designs that match the theme of the event:
- Food Coloring: Food coloring can instantly transform simple wafer cookies into festive treats. Use gel or liquid food coloring to tint the dough before baking. You can create layers of different colors by dividing the dough into separate portions and adding different shades of food coloring to each. For instance, red and green food coloring would be perfect for Christmas, or pastel shades for Easter.
- Cookie Molds: Cookie molds are a great tool for shaping your wafer cookies into fun, festive shapes. Whether it’s stars for New Year’s, pumpkins for Halloween, or hearts for Valentine’s Day, molds give your cookies a polished look. Simply roll the dough into a flat sheet, press it into the mold, and cut out the shapes for even results. Silicone molds work best as they are flexible and ensure easy release.
- Rolling Pins with Imprints: Another creative way to add texture and design is by using a rolling pin with imprints or patterns. These rolling pins often feature designs like snowflakes, flowers, or geometric shapes. Rolling the dough through the pin will create intricate patterns on the surface of your cookies, which can be left plain or decorated further.
Decorating Tips: Drizzling with Chocolate or Adding Sprinkles
Decorating your festive wafer cookies is the perfect way to make them stand out and add an extra layer of fun. Here are a few decorating tips that will help elevate your cookie game:
- Drizzling with Chocolate: Melted chocolate is one of the easiest and most effective ways to decorate wafer cookies. Whether you use milk chocolate, dark chocolate, or white chocolate, you can drizzle it over the cookies in a crisscross pattern or dip them halfway into the chocolate for a more elegant look. Add a sprinkle of sea salt or crushed nuts on top for extra texture.
- Adding Sprinkles or Colored Sugar: Sprinkles add a burst of color and fun to any cookie. Choose from holiday-themed sprinkles (like red and green for Christmas or pastel colors for spring), or go for classic rainbow sprinkles for a joyful touch. Colored sugar is another option for a sparkling finish—just sprinkle it over the chocolate drizzle before it hardens to create a glistening effect.
- Royal Icing or Buttercream: For a more intricate design, consider using royal icing or buttercream to decorate your cookies. Royal icing can be piped onto the cookies in various shapes or patterns, such as stars, hearts, or flowers. Buttercream frosting can be used to pipe delicate flowers or edges, making your cookies look professional. Both options also allow for adding extra layers of color and detail.
- Edible Glitter and Sugar Pearls: For a glamorous touch, add edible glitter or sugar pearls to your decorated cookies. This will give the cookies a festive sparkle, perfect for a New Year’s celebration or a wedding. Sprinkle them lightly over the icing or chocolate for an extra pop.
Seasonal Flavors: Peppermint, Pumpkin Spice, or Cinnamon
Seasonal flavors are the heart of festive baking and make your wafer cookies even more special. By incorporating seasonal ingredients, you can infuse your cookies with unique flavors that match the occasion.
- Peppermint: Peppermint is a classic winter and holiday flavor that pairs wonderfully with chocolate. You can add peppermint extract to the dough for a fresh, minty flavor. For an extra touch, dip the cookies in chocolate and top with crushed peppermint candy or candy canes. This combination is perfect for Christmas and winter-themed gatherings.
- Pumpkin Spice: Pumpkin spice is synonymous with autumn and Thanksgiving. Add a teaspoon of pumpkin spice to the dough, along with a bit of cinnamon and nutmeg, to give your wafer cookies that warm, comforting flavor. You can also incorporate canned pumpkin puree for a soft texture and even more depth of flavor. This flavor profile is perfect for fall and Halloween events.
- Cinnamon: Cinnamon adds a warm and inviting aroma to your cookies. It can be mixed directly into the dough for subtle spice or sprinkled on top of the cookies before baking. Cinnamon sugar (a mixture of sugar and ground cinnamon) can also be used to coat the cookies after they’ve been baked for an extra crunchy and sweet finish. Cinnamon is a great option for winter celebrations like Christmas or cozy fall gatherings.
- Orange Zest and Almond Extract: For a more unique seasonal flavor, consider adding orange zest and almond extract to your cookie dough. The bright citrus notes pair well with a variety of decorations and add a refreshing flavor perfect for spring or festive holiday gatherings. The almond extract provides an aromatic sweetness that complements fruit-based or creamy fillings.
By incorporating these creative shapes, colors, and seasonal flavors into your wafer cookies, you can turn simple treats into festive masterpieces that are perfect for any occasion. Whether you’re hosting a holiday gathering, a birthday party, or just looking for a special treat, these cookies will bring joy and delight to all who try them!
Vegan Wafer Cookies for a Plant-Based Option
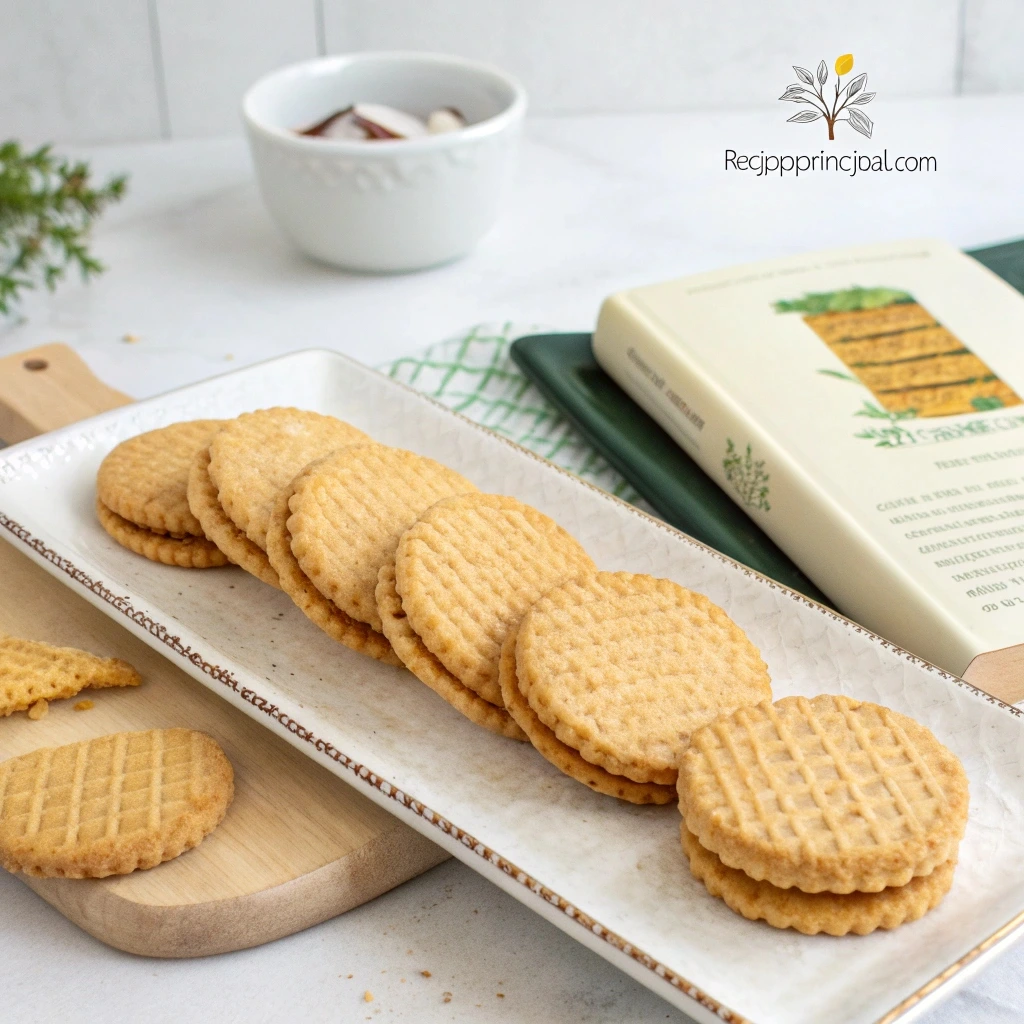
Dairy-Free and Egg-Free: Replacing Butter with Coconut Oil and Using Flax Eggs
Vegan wafer cookies are a fantastic plant-based alternative to traditional wafer cookies, and they can be just as delicious and crisp. By replacing dairy and eggs with plant-based ingredients, you ensure that the cookies are suitable for anyone following a vegan or dairy-free diet. Here’s how to adapt the recipe:
- Coconut Oil as a Butter Substitute (½ cup): Coconut oil is an excellent alternative to butter in vegan baking. It provides the same rich, smooth texture that butter does, but without any dairy. To replace butter, use solidified coconut oil in the same amount as the butter called for in the recipe. If you prefer, you can also use vegan butter or margarine, but coconut oil offers a pleasant subtle coconut flavor that complements many baked goods, especially in cookies. Make sure to melt it before mixing it with the other ingredients for smooth incorporation.
- Flax Eggs (2): To replace the binding function of eggs, use flax eggs. To make one flax egg, mix one tablespoon of ground flaxseeds with three tablespoons of water and let it sit for 5 minutes to thicken. This mixture mimics the texture and binding power of eggs while keeping the cookies vegan. For this recipe, use two flax eggs to ensure the dough holds together and maintains its consistency.
- Other Egg Replacements: If you don’t have flax seeds on hand, other egg replacements work well in vegan cookies. For example, mashed bananas or applesauce can be used as a substitute for eggs, though they will alter the flavor slightly. If you prefer a neutral flavor, aquafaba (the liquid from canned chickpeas) is another option and provides a similar consistency to egg whites.
By replacing these two key ingredients, your vegan wafer cookies will remain tender, delicious, and crisp, just like the classic version.
Maintaining the Crisp Texture: Tips for Perfect Vegan Baking
One of the challenges of vegan baking is ensuring that the texture of the cookies remains as crisp and light as the traditional version. Here are some tips to maintain that perfect crunch:
- Use a Good Vegan Flour Blend (1 ½ cups): The type of flour you use plays a big role in the final texture of the cookies. A gluten-free flour blend can create a delicate texture, but if you’re not aiming for gluten-free, opt for all-purpose flour, which helps create the perfect balance between lightness and structure. Additionally, adding cornstarch (1 tbsp) or arrowroot powder to the flour helps in creating a crisp texture.
- Keep the Dough Chilled: One of the secrets to perfectly crisp vegan wafer cookies is to chill the dough for at least 30 minutes before baking. Chilled dough prevents the cookies from spreading too much and helps them maintain a crisp texture once baked. This step is especially important when using coconut oil, as it tends to soften quickly at room temperature.
- Thin Cookie Dough: Roll the dough out thinly, about ¼ inch thick, before cutting into shapes. Thicker dough can result in a chewy texture rather than a crisp one. Use a sharp knife or cookie cutter to shape the dough, ensuring that the cookies bake evenly and become crisp without over-baking.
- Bake at the Right Temperature (350°F): The temperature of your oven matters greatly when it comes to achieving the right crispness. Bake the cookies at 350°F (175°C) for 10–12 minutes, or until they are golden brown and crisp around the edges. Keep an eye on them as they bake to avoid burning, as vegan cookies can darken more quickly due to the absence of butter.
Flavor Twists: Experimenting with Vanilla, Lemon Zest, or Matcha
Vegan wafer cookies provide the perfect canvas for flavor experimentation. You can easily add unique flavor twists that complement the vegan ingredients, making these cookies not only plant-based but also exciting and delicious. Here are a few flavor ideas to elevate your vegan wafer cookies:
- Vanilla (1 tsp): Vanilla is the classic flavor choice for wafer cookies. It enhances the natural sweetness of the dough and pairs perfectly with coconut oil’s subtle flavor. Use high-quality vanilla extract for the best results, and feel free to increase the amount slightly if you love a strong vanilla flavor.
- Lemon Zest (1 tsp): Lemon zest adds a refreshing citrusy kick to your cookies, making them perfect for spring or summer gatherings. The aromatic oils in the lemon peel provide a fragrant burst of flavor that contrasts beautifully with the subtle sweetness of the dough. You can also add a bit of lemon juice to intensify the citrusy flavor, but be cautious not to add too much liquid, as it may affect the texture.
- Matcha Powder (1-2 tsp): For a unique, earthy twist, try adding matcha powder to your vegan wafer cookies. Matcha not only gives the cookies a beautiful green color but also imparts a slightly bitter, herbal flavor that pairs wonderfully with the sweetness of the cookie. Use 1-2 teaspoons of matcha powder to achieve the right balance of flavor without overpowering the dough.
- Cinnamon (1 tsp): Cinnamon adds warmth and depth to the cookies, making them perfect for fall or winter occasions. Combine it with a pinch of nutmeg or ginger for a more robust, spiced flavor. This twist is great for holiday baking or cozy gatherings.
- Almond Extract (½ tsp): For a nutty, aromatic touch, try almond extract. It pairs wonderfully with the coconut oil and adds a sweet, nutty aroma to the cookies. If you’re using almond extract, consider sprinkling slivered almonds or finely chopped nuts on top for added texture and flavor.
By making these simple modifications, your vegan wafer cookies will not only be suitable for plant-based diets but will also be incredibly delicious and versatile. Whether you’re going for the classic flavor or experimenting with citrus, spices, or matcha, these cookies will satisfy both vegan and non-vegan guests alike.
Conclusion
Making wafer cookies at home is an easy and rewarding experience that allows you to customize flavors, textures, and designs to suit any occasion. Whether you’re sticking to the classics, experimenting with chocolate or gluten-free options, or crafting festive treats, there’s a recipe for everyone to enjoy. These light, crispy delights are perfect for pairing with your favorite beverages or sharing with loved ones.
So why wait? Try these fun and simple recipes today and bring a touch of sweetness to your kitchen. Don’t forget to share your creations and let us know your favorite variation in the comments below!
